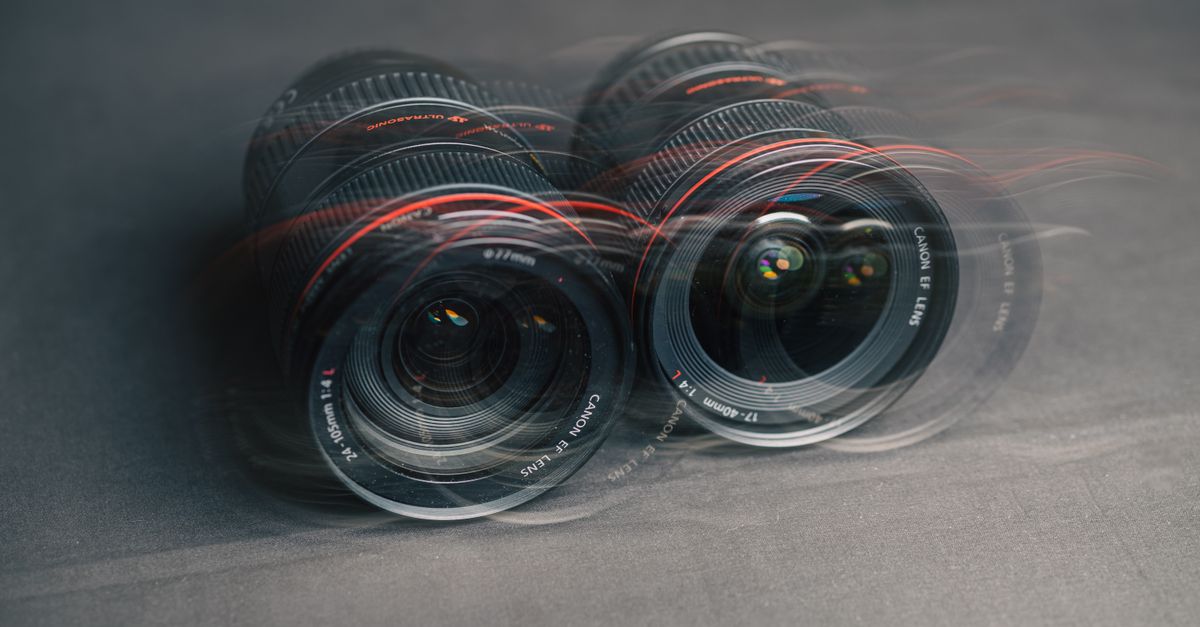
Image blurring is a digital processing technique that softens sharp transitions between pixels by sampling and averaging the colors of neighboring pixels, which makes fine detail, edges, and text less distinct across a chosen area. A blur kernel is the small mathematical pattern that decides how many neighbors are read, how far the sampling reaches, and how heavily each neighbor's color is weighted; the "blur radius" is simply the size of that reach, so a small radius produces a gentle softening and a large radius produces a hazy, almost dreamlike smear. This matters because blurring is not a single switch: it is a continuous adjustment applied over a defined region. In a browser-based tool like Blur Image, the effect is rendered through the canvas filter API on the device, with no file upload and no remote queue, which means the same mathematical operation produces the same visual result as long as the radius, region, and source dimensions match. Understanding those three knobs is the difference between a subtle, useful edit and an image that looks ruined.
How Image Blurring Actually Works
Blurring works by replacing each pixel with a weighted blend of itself and the pixels around it. The pattern that decides which neighbors count, how far they can reach, and how much each one contributes is called a kernel. In a browser canvas, the kernel size is controlled by the blur radius: a small radius reads a few pixels in every direction and produces a gentle softening, while a larger radius reaches a wide neighborhood and produces a soft, almost hazy smear. The CanvasRenderingContext2D.filter property, defined by the web platform, is what lets a tool apply that kernel to a drawn region with a single declaration such as blur(8px), and it maps directly to the same radius a user sees in the interface.
Because the operation reads neighbors, the cost grows with the radius. A radius of 4 on a 4000-pixel-wide photograph finishes in milliseconds, while a radius of 60 on the same image is a noticeably larger pass over the pixel buffer. That is why a real tool reports both a file-size budget and a decoded-pixel budget: a 5 MB JPEG can still demand a much larger pixel canvas than a 12 MB PNG of the same dimensions, because compressed bytes do not predict canvas memory.
Common Reasons People Blur an Image
Blurring is used wherever fine detail needs to recede without being removed. The most familiar reasons fall into a small set of practical categories:
- Background softening for portraits. A heavy radius applied to everything except a face can simulate a shallow depth of field without a lens.
- Casual privacy for screenshots. Softening an address strip, a delivery note, a child's name on a form, or a notification badge before sharing.
- Hiding UI clutter. Browser bars, system menus, watermark text, or app chrome that should not appear in a tutorial or thumbnail.
- Drawing focus to a headline. A blurred image with a short caption reads as a hero graphic, even though the underlying photo is unchanged.
- Quieting a draft. Stock-style photos that need to sit calmly behind a presentation slide or a mockup.
How to Blur an Image Locally in Your Browser
The cleanest workflow uses a focused browser tool such as Blur Image, which applies the effect on the device without uploading the file. Three short actions cover almost every case.
- Open a JPG, PNG, or WebP file. The tool reports the source pixel dimensions after decoding, so you know what the rectangle coordinates will mean in real units.
- Pick the area and the radius. Choose full-image mode for an even softening, or switch to rectangle mode and enter an X, Y, width, and height in original-image pixels. Adjust the slider for the blur radius.
- Generate, inspect the preview and reported output dimensions, then download the PNG. Open the downloaded file at 100% zoom before sharing to confirm the effect lands where you expected.
The same three-step flow handles a one-off screenshot, a batch of product shots that share the same coordinates, and a presentation cover that needs a single repeatable radius. Each new generation replaces the previous browser download object, while changing files or leaving the page releases temporary object URLs.
Full-Image vs Rectangle Blur: Which to Pick
The two modes do different jobs. The table below summarizes the practical decision rather than the underlying math.
| Decision point | Full-image blur | Rectangle blur |
|---|---|---|
| Best when | The whole picture should soften, like a background or a hero graphic. | Only one part needs softening, such as a face, a plate, or a UI bar. |
| Coordinates needed | None. | X, Y, width, and height in source pixels. |
| Boundary behavior | No boundary; the kernel reaches every pixel. | Outside the rectangle is left as drawn, but kernel sampling can blend colors close to the edge. |
| Typical radius | Often larger, since the goal is atmosphere. | Usually smaller, since the goal is concealment or emphasis. |
| Reusable across images | Yes, by reapplying the same slider value. | Yes, by reusing the same X, Y, width, and height at matching dimensions. |
If the same rectangle should be reapplied across a set of images, keep the working copies in matching dimensions. Rectangle coordinates live in the original image's pixels, so they do not transfer between photos of different sizes. If a rectangle extends beyond an edge, the tool safely clamps it to the available image area instead of expanding the output or failing unexpectedly, which keeps the effect predictable across an entire batch.
What the Preview Does (and Doesn't) Tell You
A good blur tool keeps the on-page canvas small enough to be responsive while the downloadable file stays at the source's natural resolution. The on-page canvas is reduced when necessary so a large photo remains practical to scroll and inspect; the downloadable PNG is not made from that reduced preview. Instead, the tool creates a separate offscreen canvas at the source image's natural pixel width and height, draws the original pixels there, and applies the selected blur at that full resolution. The result text reports those output dimensions before download.
The practical consequence is to always open the downloaded file at 100% zoom before treating the result as final. A soft edge that looks fine at 800 pixels wide can look sloppy at 4000 pixels wide, especially near a rectangle boundary, where the kernel samples across the clipped edge and may carry colors from outside the rectangle into the blurred region. Increase the rectangle size or radius when the transition needs more surrounding context, and inspect the downloaded file rather than relying only on the preview.
File Limits, Pixel Budgets, and Why Both Exist
Two separate caps protect the browser tab from running out of memory. The first is a file-size cap of 25 MB for JPEG, PNG, and WebP inputs, which keeps the read step inside normal browser limits. The second is a decoded-pixel cap of 40 megapixels, which reflects the fact that compressed bytes do not predict canvas memory. A highly compressed 8 MB JPEG at 6000×4000 pixels will decode into the same pixel buffer as a lightly compressed 18 MB JPEG of the same size, and the buffer is what actually costs memory.
Files outside those limits are rejected with a specific message before the blur is generated, as a guard rail rather than a hidden cap on the effect itself. Resizing the image with a local tool, cropping to the area that matters, or converting to a more efficient format such as WebP will usually bring a large source file back into range without losing the part you wanted to blur.
What Blur Cannot Do (and What to Use Instead)
Blurring is a visual effect, not a redaction. A blurred face, address, account number, license plate, document field, or private message can remain recognizable, recoverable, or inferable from context, especially in a small thumbnail, in metadata, or against a known background. If the goal is to publish something where sensitive content must be permanently removed, cover the source pixels first with an opaque shape, then verify the exported file, its metadata, hidden layers, and surrounding context. Blur can sit on top of that as a visual softening, but it should never be the only step.
The same caution applies to screenshots that contain tokens, session identifiers, or internal hostnames. A blurred token is still a string of roughly the right length in the right place, and a determined reader can sometimes guess what was there. Treat the blur as a courtesy layer rather than a guarantee, and never describe a blurred image as evidence that sensitive content has been deleted.
Why Local Processing Is the Right Default for a Blur
Blurring is rarely the operation a user wants to send through a remote service. The photo might be a draft contract, a private medical image, a child's school photo, or an unreleased product shot, and uploading it just to soften a corner is a poor trade. A browser-only tool keeps decoding, drawing, blurring, and PNG creation in the current tab, so the file never leaves the device and no account copy is created.
The exported PNG is generated from a separate natural-size canvas rather than from the on-page preview, which is why the output dimensions reported next to the download button are the ones to trust. Preview canvas, export canvas, and source file are three different things, and a well-behaved blur tool keeps them clearly separated so a low-resolution preview never silently becomes the file handed to a client. The simple controls deliberately avoid automatic face detection, cloud analysis, or claims about what the image contains: the user decides what to blur, and the browser performs only that requested pixel operation.
If you're weighing options, EXIF Editor Alternative: Write Credit Fields Locally covers this in detail.
If you're weighing options, Image Rotator: How to Fix Sideways Photos Locally covers this in detail.