A blur effect softens an image by averaging each pixel with its neighbors, producing a smoother, less detailed version that hides small features without erasing them entirely. For beginners, that single sentence captures almost everything you need to know before you start: blur is a visual change, not a permanent edit, and it works on your photo without any specialized software.
Blurring a picture for the first time becomes much more approachable once you split the task into two decisions. First, decide whether you want the whole photo softened — useful for backgrounds, draft screenshots, or mood effects — or just one rectangular portion of the image, such as a face, an address, or a logo. Second, decide how strong the blur should be; the same tool that gives you a gentle softening can also produce a strong, almost dreamy haze with one slider move.
That second decision matters because beginners often worry that a stronger blur looks wrong. In practice, the right strength is the one that makes the unwanted detail stop drawing the eye, not the one that mathematically maximizes smoothing.
What Blurring Actually Means on a Photo
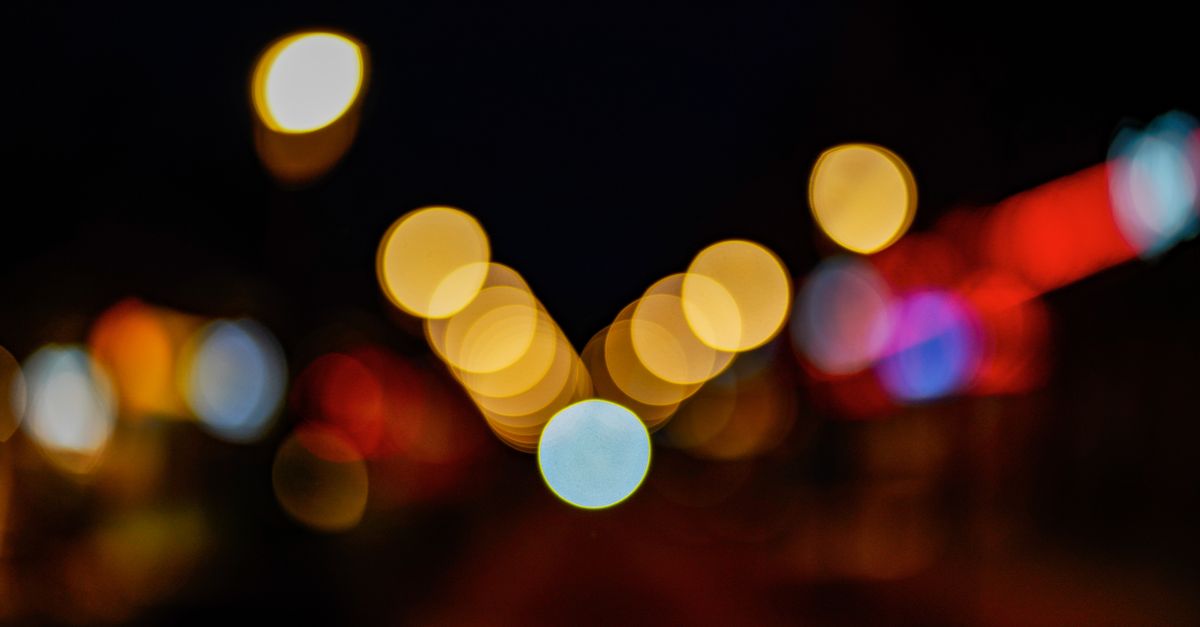
When a tool applies a blur to an image, it does not paint over the picture or delete pixels. Instead, it walks across every pixel in the selected area and replaces each one with a weighted average of the colors found in nearby pixels. The result is a softer, smoother region where fine details, sharp edges, and small text begin to dissolve into their surroundings.
Two consequences matter for a beginner. First, blur is reversible in principle — the original pixels still exist in your saved source file, and a stronger blur does not destroy information any more than closing a book destroys the words. Second, a blurred region still contains shape and color information, which is exactly why a too-light blur often leaves faces, license plates, and account numbers readable.
Why Beginners Use a Blur Effect in the First Place
Most first-time blur users fall into one of three groups:
- Privacy and courtesy. You want to share a screenshot, classroom photo, or work slide that contains someone else's face, name, email, address, or document number. A blur softens the area so a casual viewer cannot read it at a glance.
- Design and mood. You want to draw attention to one part of the picture by softening the rest, or you want the soft, hazy look used in product pages, blog headers, and social posts.
- Clean-up and drafting. You are building a slide, mock-up, or feedback document and want to hide a watermark, logo, or unfinished element until the final asset is ready.
All three uses share the same workflow — pick an area, set a strength, generate, and download — so the same beginner-friendly tool covers them.
Whole Image vs. a Specific Area: A Quick Comparison
Before you start clicking, the single biggest choice is whether the blur should cover the entire picture or just one rectangle. The table below lines up how each option behaves for typical beginner tasks.
| Scenario | Whole-image blur | Rectangular-area blur |
|---|---|---|
| Soften a busy background | Best fit; one setting, no coordinates | Overkill — you would need to select everything except the subject |
| Hide one face or one line of text | Destroys the rest of the photo | Best fit; only the chosen rectangle changes |
| Draft a slide with a hidden logo | Often too aggressive | Targeted and repeatable |
| Create a moody header image | Best fit | Rarely needed |
| Anonymize a screenshot before sharing | Loses useful context | Best fit for fields you can frame in a rectangle |
For most beginners, the rule of thumb is simple: start with full-image mode for mood and backgrounds, and switch to rectangular mode as soon as you only want to hide a specific thing. The guide on how to add blur to an image, full or partial walks through that same decision with more examples if you want a deeper comparison.
How to Blur an Image Step by Step
The fastest path from "I have a photo" to "I have a blurred photo" looks like this when you use a local browser tool such as Blur Image:
- Open the tool and pick your file. Drag a JPG, PNG, or WebP into the upload area or use the file picker. The displayed width and height in pixels appear once the image is loaded; keep them visible, because rectangle coordinates are measured in those pixels.
- Choose whole-image or rectangular mode. Pick whole image if you want everything softened. Pick rectangle if you only want one portion blurred and you know roughly where it sits in the picture.
- Set the blur radius. A small radius gives a gentle softening, suitable for backgrounds. A larger radius produces a much stronger, dreamier blur suitable for hiding recognizable detail. Start in the middle and adjust from there.
- Enter rectangle coordinates if needed. Type the X (left edge), Y (top edge), width, and height in original-image pixels. If a rectangle would extend past the edge of the photo, the tool clamps it to the available area instead of failing.
- Generate the blur and inspect the preview. Look at the on-screen preview to confirm the right area and strength. The preview may be smaller than your original; that is normal and only meant for quick inspection.
- Check the reported output size and download the PNG. The export is produced on a separate canvas at the original image's natural pixel dimensions, so the downloaded PNG matches your source resolution rather than the preview size.
- Open the downloaded file at 100% zoom. Verify the selection boundary, output dimensions, and any text or faces that motivated the edit. If the area is wrong, change the coordinates and generate again.
Setting Rectangle Coordinates as a First-Timer
The part that confuses most beginners is the four numbers in rectangle mode: X, Y, width, and height. All four are measured in the original image's pixels, not in screen pixels or percentages.
- X is the distance, in pixels, from the left edge of the image to the left edge of your rectangle.
- Y is the distance, in pixels, from the top edge of the image to the top edge of your rectangle.
- Width is how wide the rectangle should be.
- Height is how tall the rectangle should be.
Worked example. Suppose your image is reported as 4032 × 3024 pixels and the region you want to soften sits roughly between the pixel columns 1300 and 2700 and the pixel rows 1500 and 1800. The rectangle values are X = 1300, Y = 1500, Width = 2700 − 1300 = 1400 pixels, Height = 1800 − 1500 = 300 pixels. Type those four numbers, generate, and download. If your rectangle runs past the right or bottom edge, the tool clamps it to whatever room is left, so there is no need to subtract a safety margin by hand.
What to Check in the Preview Before Downloading
The preview canvas inside the tool is sized for fast inspection, which means it may be smaller than your original. That is why the exported PNG is produced on a separate, full-resolution canvas rather than being a screenshot of what you see. According to the MDN documentation on CanvasRenderingContext2D.filter, the canvas filter property is what makes this kind of browser-side blur possible without uploading the file.
Before you click download, run through a short checklist:
- The reported output dimensions match what you expect from the source image.
- The blurred region lines up with the thing you wanted to hide. Open the PNG and zoom to 100% to confirm, because the on-page preview is scaled down for speed.
- Nearby pixels outside the rectangle still look correct. Blur kernels sample neighboring pixels, so colors close to a selection boundary can blend slightly inward; if the transition looks too sharp, enlarge the rectangle or lower the radius.
- The text or face that prompted the edit is no longer the first thing your eye lands on.
Limits, Privacy, and When Blur Is Not Enough
Every beginner should know three honest limits before relying on a blur for anything sensitive.
File and size limits. Supported inputs are JPEG, PNG, and WebP files up to 25 MB, and the tool also enforces a 40-megapixel decoded-image safety budget. Files outside those limits are rejected before the blur is generated, so you will not see a half-finished download.
Blur is not secure redaction. A blurred face, address, account number, license plate, document field, or private message may remain recognizable, recoverable, or inferable from context. If you need to disclose a document and a region truly cannot be read, cover the source pixels with an opaque shape in a verified redaction workflow and check the exported file, metadata, hidden layers, and surrounding context. This tool is built for visual blur effects and casual privacy, not for certifying anonymization.
Processing stays local. Decoding, drawing, blurring, and PNG creation all happen in your current browser tab. The MDN entry on HTMLCanvasElement.toBlob describes the exact API used to turn that local canvas into a downloadable PNG without sending the image to a server. If your goal is to keep a photo off someone else's infrastructure, a browser-based local tool gives you that.
If you're weighing options, Photo Filters Online for Beginners: Apply Effects Locally covers this in detail.