A 50KB black-and-white photo is a two-step result: convert the original to a grayscale PNG with the Black and White Photo Converter, then check the downloaded PNG’s size and, if it exceeds the limit, use a separately verified size-reduction workflow.
The converter itself has no 50KB setting. It creates a grayscale PNG at the source image’s decoded width and height, so color conversion and file-size control must be handled separately.
Because 50KB is an encoded-file limit rather than a resolution setting, a successful conversion can still produce a file that is too large. The dependable sequence is to convert, inspect the download, and use a dedicated size-reduction step only when needed.
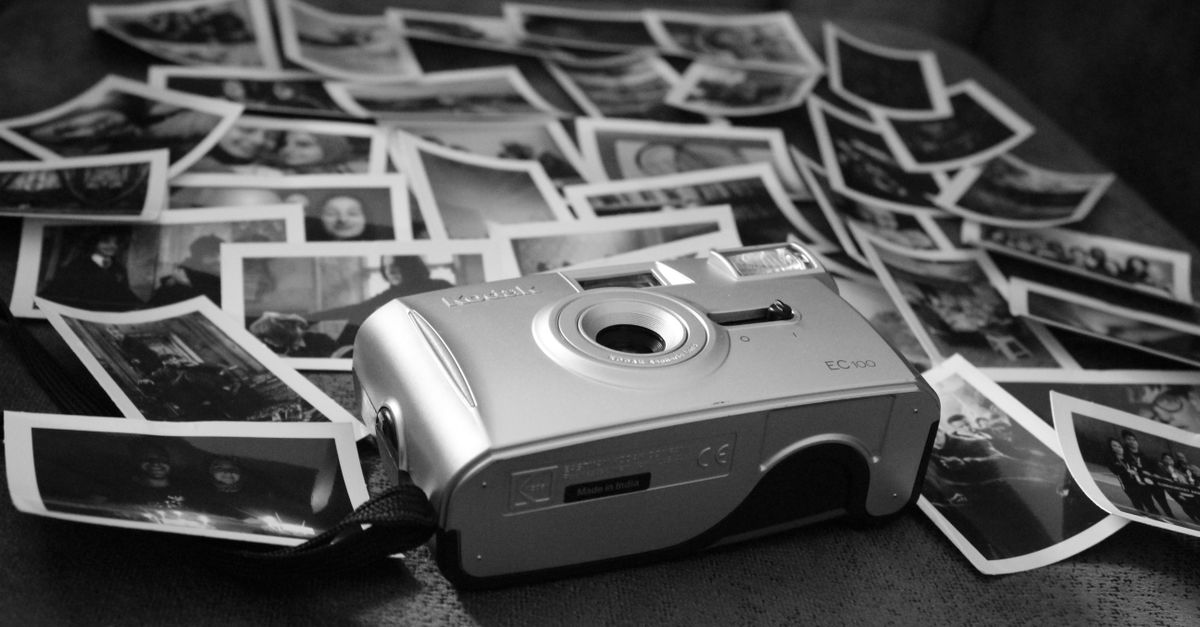
What the grayscale converter actually produces
The supported input is a local JPG, PNG, or WebP no larger than 25 MiB and within the tool’s bounded decoded dimensions. The browser decodes the source, draws it once to a same-size canvas, reads complete RGBA pixels, transforms every pixel, and encodes a PNG. These operations remain in the current browser tab; the image is not uploaded.
For each pixel, the tool calculates round(0.2126R + 0.7152G + 0.0722B) and writes that gray value to the red, green, and blue channels. These are the W3C Filter Effects grayscale weights. The result is deterministic grayscale rather than one-bit thresholding: colored pixels can become middle grays, and the finished PNG contains many gray levels instead of only pure black and pure white.
Alpha is copied unchanged, so transparent and partially transparent pixels retain their opacity. The MDN grayscale() reference describes the browser’s CSS filter equivalent, while this converter completes a full pixel transformation and encodes the result as a PNG rather than relying on a preview filter.
Convert to grayscale, then fit the 50KB cap
- Read the destination’s file rule. Confirm the accepted extension, whether the requirement means 50KB or less or strictly under 50KB, and whether the image needs transparency. Keep the original color file unchanged as the source of truth.
- Open the converter and choose the local source. Select a JPG, PNG, or WebP that is 25 MiB or smaller and within the bounded decoded-dimension limits. An invalid file, excessive dimensions, incomplete pixel data, missing canvas support, or an empty result fails visibly rather than producing a partial conversion.
- Run the color conversion. Select Convert to black and white and wait for the per-pixel canvas transform to finish. This control changes the image’s grayscale values; it does not set an output-size target.
- Verify the result before downloading. Check that the width and height still match the decoded source, inspect the appearance for unwanted tonal changes, and confirm that transparent areas remain transparent when alpha was present in the original.
- Choose the required output format. Keep the grayscale PNG if the destination accepts PNG. If it accepts only JPG and does not need transparency, use the PNG to JPG converter only after independently verifying that the workflow accepts PNG input and provides a JPG download. If the image needs transparency, keep the PNG.
- Measure the downloaded file. Open the file’s properties in your device’s file manager and compare the displayed size with the destination’s rule. If the file already meets the limit and uses the correct format, no further reduction is necessary.
- Compress the grayscale file when it is too large. Open the Image Compressor only if you have independently verified that it accepts the current file’s format, can produce the needed size reduction, and provides a downloadable result. Check the final file size and confirm that its format and transparency still meet your requirements.
- Resize only if compression is not enough. If the file remains above the cap, use the Image Resizer only after independently verifying that it supports setting smaller width and height values, preserving the intended aspect ratio, and downloading the result. Then repeat the format and size checks and leave some margin when the destination says the file must be strictly under 50KB.
Choose the right way to reduce the file
Grayscale conversion changes pixel colors, but it does not promise a particular number of encoded bytes. PNG compression efficiency depends on the image’s pixel count and content, so removing color does not guarantee that the result will fall below 50KB. Measure each completed download rather than estimating from the original file.
| Action | What changes | Best fit | Main limitation |
|---|---|---|---|
| Convert to black and white | RGB values become gray while alpha stays unchanged | Creating the monochrome image | No 50KB target or pixel resizing |
| Compress | The encoded file uses fewer bytes | The current dimensions must remain | Compression alone may not reach the cap |
| Resize | The width and height become smaller | Reducing dimensions is one way to reduce file size; compression or format changes may also help at the same dimensions | Fine detail and effective resolution are reduced |
| Change PNG to JPG | The file uses JPEG encoding instead of PNG | A destination that accepts JPG only | Transparency cannot be retained |
A practical order is to keep PNG when it is accepted, complete any required format change with a separately verified workflow, and check the result. If the file is still over the limit, use a separately verified size-reduction method on the current format; reducing dimensions is one option, not the only way to lower encoded file size. Whichever method you use, the measured size of the final downloaded file—not the size of the original or the grayscale preview—is what determines whether it meets the requirement.
Keep transparency or switch to JPG
Transparency can affect both the correct output format and the compression result. The grayscale converter preserves the alpha channel exactly, which is useful for transparent PNG assets. If the final upload must be a JPG, convert the grayscale PNG only after confirming that transparency is unnecessary. A transparent region then needs an appropriate solid background rather than an alpha channel.
Also distinguish grayscale from binary black-and-white artwork. This converter produces discrete gray tones quantized to 8 bits, with at most 256 gray levels based on each pixel’s RGB values. It does not reduce an image to only black and white pixels, and it does not apply a threshold, halftone, duotone, selective-color treatment, film-style preset, or perceptual artistic grade.
Know the limits of browser-based conversion
The grayscale matrix operates on the browser’s decoded 8-bit channel values. Color profiles, HDR metadata, wide-gamut precision, and print-specific black generation are not preserved as a professional color-managed workflow. The tool also does not provide RAW development, local contrast adjustment, batch editing, or non-destructive layers.
For color-managed printing, advanced tonal work, or a large editing session, use a dedicated image editor instead. The browser converter is better suited to quick monochrome assets for web graphics, documents, reference material, and similar simple uses. Its local processing also keeps the source image in the current tab rather than sending it to an upload server.
Check the finished file before upload
Complete the final check on the downloaded file, not on the converter preview or an earlier intermediate version.
- Confirm the size: Read the file properties and compare the byte count with the destination’s exact 50KB wording.
- Confirm the dimensions: Make sure the image retains the required width and height, or that any resize was intentional.
- Inspect the appearance: Open the final file and check shadows, highlights, fine lines, and any transparency for the expected grayscale result.
- Check the format: Confirm that the extension and encoding are accepted by the destination and that transparency requirements are met.
- Test the upload: Submit the file once to verify that it passes the portal’s validation, and retain the original until the upload succeeds.
If the final PNG remains too large, the next controllable step is to reduce its pixel dimensions while keeping the required aspect ratio, then compress and measure it again. This approach is more dependable than repeatedly changing the same file without checking the reported size, and it avoids resizing a picture that already meets the limit.
For a deeper look, see How Do I Make a Photo Collage in Photo Collage Maker?.