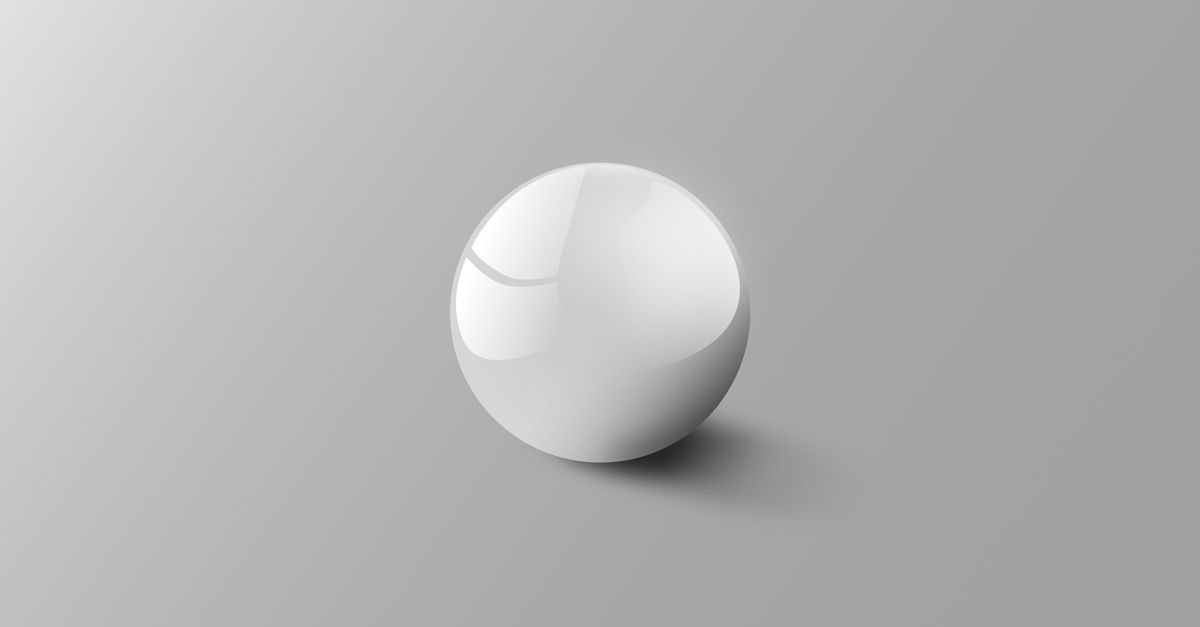
You can add a drop shadow to an image without opening Adobe Illustrator by using a browser tool that accepts four whole-number values — horizontal offset, vertical offset, blur radius, and opacity percentage — plus a six-digit hexadecimal color, and outputs a transparent PNG with expanded dimensions calculated as twice the blur on each side plus the absolute directional offset on the affected side. Decoding, drawing, encoding, previewing, and download creation all happen in the current browser tab, and the source file is never sent to a remote server. The result is a raster drop shadow on a transparent background suitable for mockups, thumbnails, stickers, and similar fixtures, and the math behind the expanded canvas is deterministic so you can predict the final pixel dimensions before clicking the action button.
Adobe Illustrator's Effect > Stylize > Drop Shadow menu exposes a very similar set of controls. The browser-based Add Shadow to Image tool mirrors those four levers — offset, blur, opacity, and color — and packages them into a workflow that runs in a single tab, which is why readers searching for an Illustrator solution often end up using it instead. If the underlying task is "I want a controlled drop shadow behind my image and I want a transparent PNG I can drop into another composition," the browser path removes the install requirement, the licensing dependency, and the round trip through Effects appearance panels.
A Browser Alternative to Illustrator's Drop Shadow
Illustrator applies a drop shadow as a vector effect on an appearance attribute, which means the shadow re-renders cleanly at any export size. The browser tool produces a rasterized drop shadow rendered by the Canvas shadow pipeline (see MDN — Canvas shadowBlur for the underlying property), which means exact feather pixels can vary slightly between browser engines and is not a print prepress measurement. For mockups, social posts, app store screenshots, web thumbnails, sticker exports, and any place where a transparent PNG is the final format, the raster output is exactly what gets delivered downstream and the variance is not visible at typical screen sizes.
The browser approach also differs from Illustrator in one important way: it never touches the source file. The original JPG, PNG, or WebP stays on disk, and a new PNG is written with a name derived from the source, such as portrait-shadow.png. That separation makes it easy to iterate on settings — change the offset, change the blur, regenerate — without overwriting work in progress or worrying about commit history on the source asset.
The Illustrator Drop Shadow Workflow
Illustrator does ship a drop shadow effect, and it is the obvious reason readers search for an "add shadow to image illustrator" workflow. The standard steps are: select the placed or embedded image on the artboard with the Selection tool, open the Effect menu, choose Stylize, then choose Drop Shadow. In the Drop Shadow dialog, set Mode, Opacity, X Offset, Y Offset, Blur, and Color using the preview swatch, then click OK to apply the effect as a live appearance attribute. To bake the shadow into the artwork instead of keeping it as a live effect, choose Object > Expand Appearance. Export through Asset Export or File > Export to write a transparent PNG with the shadow flattened into the pixels.
For a single raster image whose final destination is a transparent PNG, the vector re-render advantage of the Illustrator effect rarely matters, and the workflow assumes you have a license, a desktop install, and time to round-trip the file. The browser Add Shadow to Image tool covers the same four levers (offset, blur, opacity, color) in a single tab, with no install, and outputs a transparent PNG named from the source file.
What the Tool Handles and What It Skips
The scope is narrow on purpose. The tool draws the source once with the chosen Canvas shadow state, then draws the source once more without a shadow so the visible foreground pixels stay clear instead of being softened by translucent shadow treatment. Transparent areas in a PNG source remain transparent in the output except where the source's own alpha produces a shadow pixel. JPG and WebP sources are decoded to browser pixels, so their original compression bytes and metadata are not retained in the output PNG.
Things the tool deliberately does not do: it does not claim CSS box-shadow byte-for-byte equivalence, it does not add a border, it does not remove a background, it does not detect the subject, it does not create a perspective floor shadow, and it does not simulate studio lighting. It is a straightforward raster drop shadow on a transparent canvas. For borders on the same kind of local source, see how to add a border to an image without Illustrator.
Add a Drop Shadow in Your Browser
- Open Add Shadow to Image in your browser tab. Make sure the file you plan to load is a browser-decodable JPG, PNG, or WebP no larger than 25 MiB.
- Choose the local file using the displayed file picker. The tool reads the file from your device and decodes it locally; nothing is uploaded to any server.
- Enter the horizontal offset as a whole number from -500 to 500 pixels. Positive values move the shadow right; negative values move it left.
- Enter the vertical offset as a whole number from -500 to 500 pixels. Positive values move the shadow down in the downloaded image; negative values move it up.
- Set the blur radius as a whole number from 0 to 250 pixels. Blur is applied by the browser Canvas shadow renderer and its feather can vary slightly between engines.
- Set the opacity as a whole percentage from 0 to 100. Higher values produce a darker, more visible shadow against any background it is dropped onto.
- Enter the shadow color as a six-digit hexadecimal value such as 000000 for pure black or 1a1a1a for near-black. No alpha channel is mixed in from the color string.
- Select Add shadow, then verify the displayed expanded width and height so you know the final canvas dimensions before downloading.
- Select the download link. The output PNG is named from the source file with -shadow appended, for example portrait-shadow.png.
- If you change the source file or any setting afterward, the old result is invalidated and its temporary download URL is revoked, so re-run Add shadow to get a fresh PNG.
Shadow Control Ranges at a Glance
Every control is a whole number or a six-digit hex string, which keeps the input predictable and makes the output canvas dimensions calculable by hand. The table below lists the verified ranges and the direction each control takes in the downloaded image.
| Control | Accepted input | Range | Effect in the output |
|---|---|---|---|
| Horizontal offset | Whole pixels | -500 to 500 | Positive moves the shadow right; negative moves it left. |
| Vertical offset | Whole pixels | -500 to 500 | Positive moves the shadow down in the output; negative moves it up. |
| Blur radius | Whole pixels | 0 to 250 | Applied by Canvas shadowBlur; exact feather can vary slightly between browser engines. |
| Opacity | Whole percent | 0 to 100 | Higher values darken the shadow on the transparent canvas. |
| Color | Six-digit hex | 000000 to ffffff | Exact match; alpha is supplied separately by the opacity field. |
Why the Output Canvas Is Larger Than the Source
A common surprise when you first add a shadow to an image is why the downloaded PNG ends up a few dozen pixels wider and taller than the source file. The canvas is deliberately enlarged so the shadow is not clipped at the original rectangular edge. The reservation rule is: on each side, reserve twice the blur value, then add the absolute directional offset to the side the shadow falls toward. The original image is positioned inside that expanded area so the visible source pixels never overlap where the shadow needs to live.
Worked example. Consider a 40 by 20 source image with a +8 horizontal offset (shadow falls to the right), a -4 vertical offset (shadow falls upward), and a blur of 6 pixels. Apply the rule to each side:
- Left margin = 2 × 6 = 12 pixels
- Right margin = 2 × 6 + 8 = 20 pixels
- Top margin = 2 × 6 + |-4| = 16 pixels
- Bottom margin = 2 × 6 = 12 pixels
Final output width = 40 + 12 + 20 = 72 pixels. Final output height = 20 + 16 + 12 = 48 pixels. The original 40 by 20 image sits inside the 72 by 48 canvas with the shadow free to feather past every edge.
If you want to reverse the direction — say, push the shadow down and to the left — use a negative horizontal offset and a positive vertical offset. The arithmetic is the same; the absolute value is what gets added to the affected side. Negative offsets also widen the canvas on the opposite side because the absolute directional offset still has to be reserved, which is how a shadow that falls upward can still extend below the original image as it feathers.
Errors and Bounded Canvas Checks
The tool runs a series of checks before it allocates the output canvas. Invalid file types, empty files, oversized decoded images, impossible output dimensions, decode errors, missing Canvas support, and PNG encoding failures each produce a visible error message rather than a silent failure. The bounded canvas budget is checked against both the source and the expanded output, so a 25 MiB image combined with extreme offsets and blur can be rejected even when the source itself is well under the file limit. If you see an error, lower the blur radius, reduce the absolute offset, or use a smaller source image and try again.
The preview pane may be scaled down to fit the page, but the downloaded PNG keeps the natural output resolution calculated from your source and shadow settings. That separation lets you preview a 2000-pixel-wide composition at a comfortable zoom and still export every pixel the math promises. Changing the source or any setting invalidates the old result and revokes its temporary Object URL, so the previous download cannot keep working after you regenerate.
When This Approach Makes Sense
Use this tool when the goal is a clean raster drop shadow on a transparent PNG and you do not want to open Illustrator, Photoshop, or any other editor. It works well for product mockups where the shadow is dropped behind a cut-out PNG, for social graphics where a sticker-style shadow makes the subject pop, for app store screenshots that need a consistent shadow under each device frame, and for thumbnail treatments where a soft blur under a portrait separates it from a busy background. Because the file never leaves your browser, it is also a reasonable choice for images you would rather not upload to a third-party server for privacy or policy reasons. If you need a perspective floor shadow, a colored studio-style softbox glow, a border that follows a complex cut-out shape, or a vector effect that re-renders at any export size, stay in Illustrator. If you need a transparent PNG with a controlled drop shadow and you have a local JPG, PNG, or WebP to start from, the browser path gets there without launching any application.
For a deeper look, see Create an Image Placeholder for Illustrator in Browser.