Adding blur to an image lets you obscure sensitive details, create artistic focus, or soften backgrounds—all without complex software. With the right tool, you can blur an entire photo or just a precise rectangular area in seconds, directly in your browser. The Blur Image tool lets you upload a JPG, PNG, or WebP file, select the area to blur, adjust the intensity, and download a full-resolution PNG—all without uploading your image to a server. This means your files stay private, and the process is fast and straightforward, even for large images.
Whether you're editing a product photo to hide a background distraction, protecting personal information in a screenshot, or creating a professional-looking depth-of-field effect, blurring is a versatile technique. Unlike desktop software, which often requires installation and manual adjustments, browser-based tools streamline the process. You don’t need to learn layers, masks, or filters—just upload, select, blur, and download. This approach is ideal for quick edits, especially when you’re working on a device without access to advanced photo editors like Photoshop or GIMP.
For those who need to blur multiple images or specific areas repeatedly, the tool’s simplicity is a major advantage. You can process one image after another without waiting for uploads or dealing with ads. The ability to adjust the blur radius gives you control over the effect’s strength, whether you want a subtle softening or a heavy blur that completely obscures details. Since the tool works entirely in your browser, it’s compatible with any operating system, including Windows, macOS, and Linux, as well as mobile devices like tablets and smartphones.
When to Use Blur on an Image
Blurring isn’t just for artistic effects—it’s a practical solution for many everyday scenarios. Here are some common situations where adding blur to an image is useful:
| Scenario | Why Blur? | Example Use Case |
|---|---|---|
| Protecting privacy | Obscure faces, license plates, or personal details in screenshots or photos. | Sharing a screenshot of a document with sensitive information. |
| Creating focus | Draw attention to a specific part of the image by blurring the background. | Highlighting a product in an e-commerce photo. |
| Hiding distractions | Remove clutter or unwanted elements from a photo. | Blurring a messy background in a portrait. |
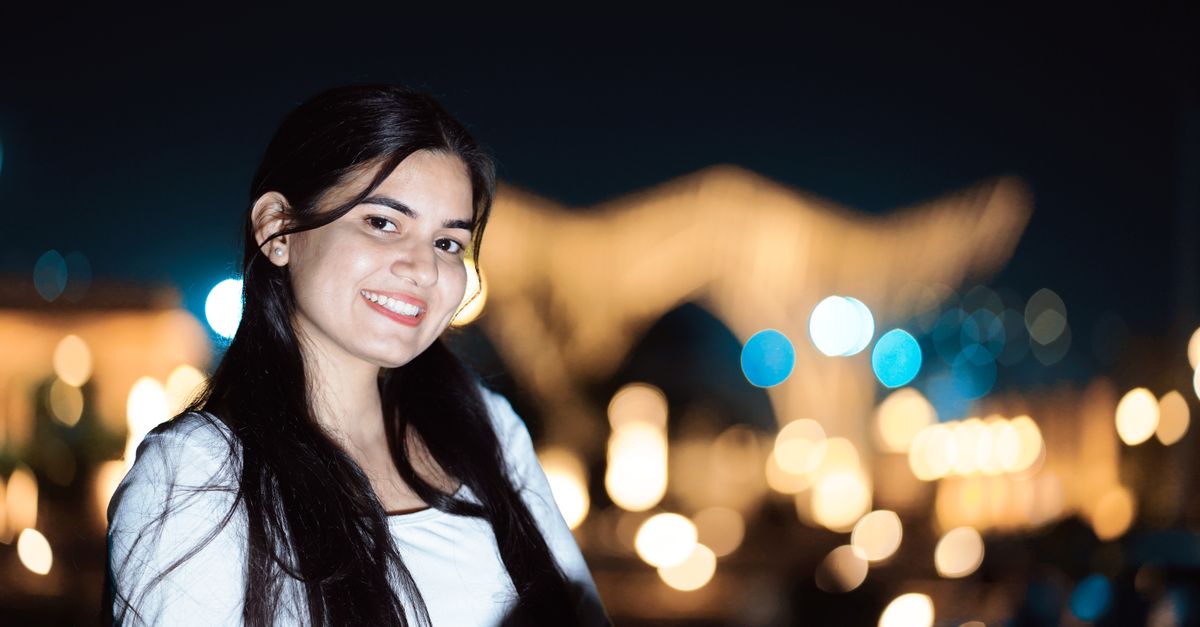
| Artistic effects | Add a dreamy or professional look to photos. | Creating a bokeh effect in a landscape photo. |
| Preparing images for web | Reduce file size by blurring complex backgrounds before compression. | Optimizing images for a blog or website. |
Blurring can also be a quick fix for low-resolution images. While it won’t restore lost detail, it can make pixelation less noticeable, especially when the image is displayed at a smaller size. For example, if you’re sharing a thumbnail on social media, a slight blur can smooth out rough edges and improve the overall appearance. If you’re working with images for the web, you might also want to compress them for faster loading after applying blur.
How to Blur an Image Using the Browser Tool
Blurring an image with the Blur Image tool is a straightforward process. Follow these steps to apply blur to your photo and download the result:
- Upload your image: Click the upload button or drag and drop a JPG, PNG, or WebP file into the tool. The image will appear on the screen, along with its pixel dimensions.
- Select the area to blur: Choose whether to blur the entire image or a specific rectangular section. If you select a section, drag the corners of the rectangle to adjust its size and position.
- Set the blur radius: Use the slider to adjust the intensity of the blur. A higher radius creates a stronger blur effect, while a lower radius keeps the image more recognizable.
- Apply the blur: Click the "Blur image" button to process the effect. The tool will display a preview of the blurred image, along with its new dimensions.
- Download the result: If you’re satisfied with the preview, click the download button to save the image as a full-resolution PNG. The file will be saved to your device without any watermarks or quality loss.
This process works for both small and large images, though very high-resolution files may take a few extra seconds to process. Since the tool runs entirely in your browser, there’s no risk of your image being stored or shared online. This makes it a secure option for sensitive files, such as medical records, legal documents, or personal photos.
Blurring Specific Areas vs. the Entire Image
Deciding whether to blur the entire image or just a specific area depends on your goal. Here’s how to choose the right approach:
Blurring the entire image is useful when you want to create a uniform effect, such as softening an entire background or making a photo look dreamy. This is often used in artistic projects, social media posts, or promotional materials where the focus is on the overall mood rather than specific details. For example, a travel blogger might blur an entire landscape photo to create a subtle, ethereal effect that draws attention to the colors and composition rather than individual elements.
Blurring a specific area is ideal for targeting particular parts of an image. This is commonly used to obscure sensitive information, such as faces, addresses, or license plates. It’s also useful for creating focus in product photos, where you want to highlight one item while softening the background. For instance, an e-commerce seller might blur the background of a product photo to ensure the item stands out clearly. The Blur Image tool lets you define a precise rectangular area, so you can control exactly which part of the image is affected.
If you’re working with a complex image and need to blur multiple areas, you can process the image in stages. For example, you might blur one section, download the result, then re-upload it to blur another area. This approach gives you fine-grained control over the final output. For more advanced edits, such as cropping or resizing, you can combine this tool with others like the Image Cropper or Image Resizer.
Tips for Getting the Best Results
To achieve the best results when blurring an image, keep these tips in mind:
- Start with a high-resolution image: Blurring works best on clear, high-quality images. If your image is already pixelated or low-resolution, the blur effect may not look smooth. If you’re working with a small image, consider resizing it first to improve clarity.
- Adjust the blur radius gradually: A small radius (e.g., 5-10 pixels) creates a subtle effect, while a larger radius (e.g., 30-50 pixels) produces a heavy blur. Start with a lower radius and increase it until you achieve the desired look.
- Preview before downloading: Always check the preview to ensure the blur effect looks natural. If the blur is too strong or misplaced, adjust the area or radius and reprocess the image.
- Combine with other edits: Blurring is just one part of image editing. For example, you might blur a background and then pick a color from the image to create a matching overlay. Or, you could blur an image and then convert it to a different format, such as JPG to PNG, for better compatibility.
- Use blur to reduce file size: Blurring complex backgrounds can make an image easier to compress, which is useful for web optimization. After blurring, you can use an image compressor to reduce the file size without losing too much quality.
If you’re blurring an image for professional use, such as a website or marketing materials, consider how the blur effect aligns with your brand’s aesthetic. A subtle blur can add sophistication, while a heavy blur might feel too abstract for certain contexts. Experiment with different settings to find the right balance for your project.
Alternatives to Blurring for Privacy or Focus
While blurring is a popular way to obscure details or create focus, it’s not the only option. Depending on your needs, you might consider these alternatives:
| Technique | Best For | Pros | Cons |
|---|---|---|---|
| Pixelation | Obscuring sensitive details like faces or text. | Quick and effective for hiding information. | Can look unprofessional if overused. |
| Cropping | Removing unwanted elements from an image. | Permanently removes distractions. | May cut out important parts of the image. |
| Color overlay | Creating a uniform background or hiding details. | Can match brand colors or aesthetics. | May not fully obscure details. |
| Black bars | Hiding text or faces in screenshots. | Simple and universally understood. | Can look harsh or unnatural. |
| Selective focus | Creating depth in artistic photos. | Looks professional and intentional. | Requires advanced editing tools. |
If you’re looking for a quick way to pixelate an image, the Pixelate Image tool offers a similar browser-based solution. Like the Blur Image tool, it lets you apply the effect to the entire image or a specific area, and it works without uploading files to a server. Pixelation is particularly useful for obscuring text or small details, as it breaks the image into large, blocky squares that make the original content unrecognizable.
For more advanced edits, such as selective focus or color overlays, you might need desktop software like Photoshop or GIMP. However, for most everyday tasks, browser-based tools provide a fast, accessible alternative. They’re especially useful when you’re working on a device without installed software, such as a public computer or a mobile device.
For a deeper look, see How to Generate a Favicon from Any Image.
For a deeper look, see Crop Images in Canva or Right in Your Browser.
For a deeper look, see Blur an Image in Canva or Your Browser in Minutes.