DaVinci Resolve 19.1 introduced a built-in Outer Stroke effect that places a colored frame around timeline clips, Fusion text, and shape nodes, and older versions of DaVinci Resolve can recreate the same look with a Stroke tool inside Fusion or by expanding a solid colored background behind the image. Both Resolve-native approaches apply the border to whatever is on the timeline, which is the right answer when the frame has to move, animate, or follow a grade. When the deliverable is a still image — a thumbnail, a poster frame, a printed handout, or a B-roll plate already saved as a PNG — opening DaVinci Resolve just to put a frame around it is more setup than the job deserves. A small browser tool that wraps the file with a solid color and exports a PNG takes a few clicks, leaves every source pixel at its original coordinate, and never asks you to launch an NLE.
What a Border Means in DaVinci Resolve
People who search for "add border to image in DaVinci Resolve" usually have one of three things in mind. The first is a clean rectangular frame around a photo they want to use as a thumbnail, social card, or printed handout. The second is a colored outline around a piece of text or a lower-third shape so it stays readable over busy footage. The third is a colored border around a full video frame, similar to a matte or a film strip.
DaVinci Resolve is genuinely good at the second and third cases because the border can move with the clip and react to grades, speed changes, and Fusion animations. For the first case — a still image that is not going to move — the timeline-based workflow is overkill. The image is already a finished file, and the fastest path to a bordered version is a tool that treats it as a file rather than a timeline clip.
Using the Outer Stroke Effect in DaVinci Resolve 19.1
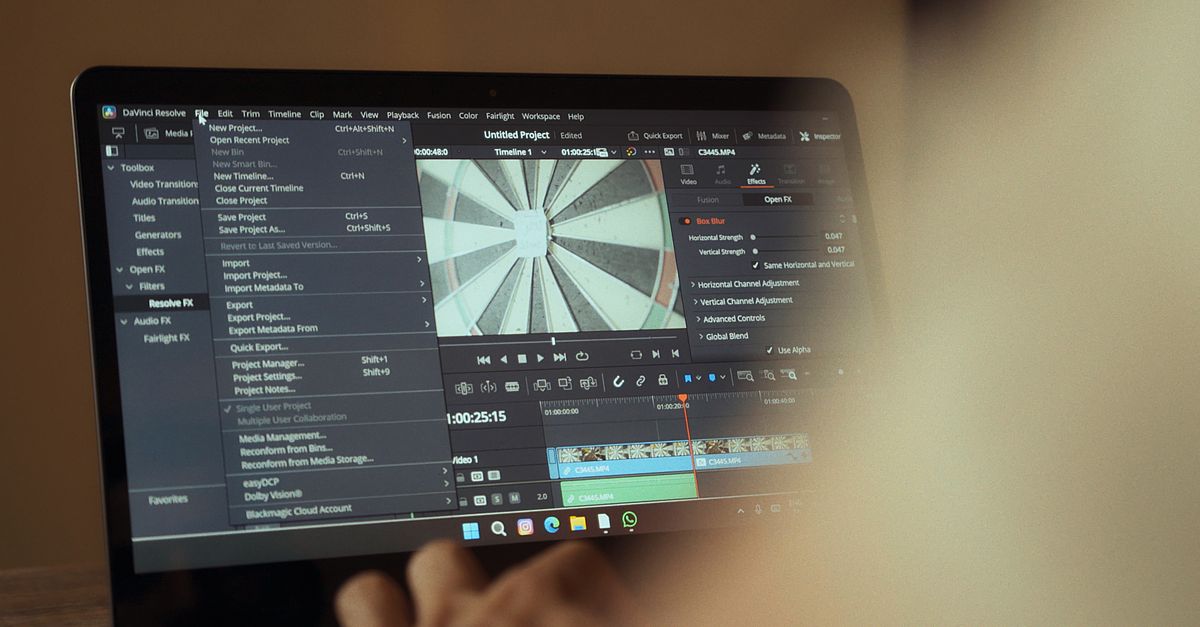
DaVinci Resolve 19.1 ships an Outer Stroke effect in the Effects panel that wraps a colored line around the visible edges of a clip, a Fusion text node, or a shape. It is the fastest Resolve-native option for the second case (outline around text or shapes) and works on top of whatever is already on the timeline.
- Open your project on the Edit or Fusion page and select the clip you want to outline on the timeline.
- Open the Effects panel, type "Outer Stroke" into the search field, and drag the effect onto the selected clip.
- Open the Inspector panel for the effect and adjust the Width slider to set how thick the border should appear in pixels.
- Click the color chip next to the Stroke parameter, pick a solid color, and confirm.
- Scrub the playhead to confirm the border follows the clip's edges, then render or export as usual.
For older versions of DaVinci Resolve without the Outer Stroke effect, the same visual can be built manually in Fusion by adding a Stroke tool after the MediaIn node, drawing a Rectangle mask over the image, and increasing the Width inside the Stroke controls. The result is identical but takes longer to set up.
When a Browser Tool Is the Faster Choice
If the image you want to border is already exported — a PNG thumbnail, a JPG photo, a WebP graphic — there is no timeline, no clip to scrub, and no grade to consider. You just want a colored frame around the file, and you want it now. That is the case where a dedicated browser tool outpaces DaVinci Resolve on raw speed: no project to open, no render queue, no export format decision, and no log-in.
The Add Border to Image tool is built for exactly that workflow. You pick the file from your computer, set a whole-number border width between 1 and 500 pixels, choose a solid color, and download a PNG. The whole process happens in the current browser tab, so the image never leaves your machine.
How to Add a Border to an Image Without Opening DaVinci Resolve
Use the Add Border to Image tool when the source is a finished image file rather than a moving clip. The tool wraps the file with a solid color, expands the canvas evenly on all four sides, and exports a PNG you can drop straight into your Resolve Media Pool or upload anywhere else.
- Open the Add Border to Image tool in your browser and click the file picker to choose a local JPG, PNG, or WebP within the displayed size limit.
- Enter a whole-number border width from 1 to 500 pixels in the width field, then pick a color using the hex color picker or by typing a six-digit hexadecimal value.
- Click Add border. The tool expands the canvas by twice the border width and shows you the new output dimensions before you download.
- Verify the preview matches what you want, then click Download to save the bordered image as a PNG to your computer.
- If you change the file, the border width, or the color, the previous result is invalidated so the next export always reflects the current settings.
The output is always PNG, which means a JPG source is decoded, drawn onto the expanded canvas, and re-encoded. The visible image is unchanged, but the file format and byte size may shift. Transparent pixels inside the source stay transparent, while the new outer frame is opaque in the color you chose.
How the Border Changes Your Output Dimensions
The relationship between source dimensions and output dimensions is straightforward: the border is added outside the original image, so each side of the frame adds the border width, and both width and height grow by twice that amount. The source image is then drawn once at an offset equal to the border width on both axes, so the source pixels land at the same coordinate scale they had in the original file.
For example, a 1200 by 900 source image with a 50 pixel border produces a 1300 by 1000 pixel PNG (1200 + 100 wide, 900 + 100 tall). The source pixels are drawn at an offset of x=50 and y=50 inside that new canvas. A 1 pixel border on the same source produces a 1202 by 902 output, and a 500 pixel border produces a 2200 by 1900 output.
The following table compares the Resolve-native approaches with the browser tool so you can pick the right one for the job at hand.
| Approach | Where it runs | Static or animated | Best for |
|---|---|---|---|
| Outer Stroke effect (DaVinci Resolve 19.1+) | Timeline clip or Fusion node | Animated | Text outlines and clip borders that follow a grade |
| Stroke tool inside Fusion | Fusion composition | Animated | Older Resolve versions and complex motion paths |
| Expanded colored background | Timeline or Fusion | Animated or static | Full-frame borders and letterbox-style frames |
| Add Border to Image tool | Browser tab, local file | Static | Thumbnails, posters, and finished image files |
Privacy and File Limits to Know
The Add Border to Image tool never uploads your file. Decoding the image, filling the expanded canvas with the chosen opaque color, drawing the source at the border offset, encoding the PNG, and creating the download link all happen inside the current browser tab, as described in the MDN Canvas drawImage reference and the MDN canvas toBlob reference. File bytes, decoded pixels, the canvas, and the temporary Object URL all stay on your side of the network.
The tool accepts JPG, PNG, and WebP up to 25 MiB with bounded decoded dimensions, and rejects any output that would exceed a 20 megapixel canvas once the border is added. Invalid dimensions, malformed colors, decode failures, unsupported files, excessive border sizes, missing canvas support, and empty PNG exports all surface as visible error states instead of silent failures. If you switch the file, the border size, or the color, the previous result is invalidated so a stale export cannot overwrite a newer choice.
When to Stay in DaVinci Resolve
The browser tool is the right call only when the bordered image is the final deliverable. If the border has to animate, follow a keyframe, react to a grade, sit on top of moving footage, or be cut between several clips, the timeline is where that work belongs. Outer Stroke in Resolve 19.1 or a Stroke node in Fusion both let the border track motion and respond to color changes, which a static PNG export cannot.
The static PNG workflow also strips the layer of batch processing, color profiles, and non-destructive editing that a desktop image editor offers. For print bleed, exact physical dimensions, color-managed output, or layered source files, plan to finish the image in a dedicated editor after exporting the bordered PNG from the browser tool.
For a deeper look, see Add a Border to an Image in PowerPoint: 2 Reliable Methods.
For a deeper look, see Add a Border to an Image for Premiere Pro (Faster Method).