To connect the numbers for beginners means starting at an anchored point 1, choosing points 2 through 8 in strict numeric order, watching each accepted segment draw on a Canvas, and finishing all seven clean connections for a final score of exactly 1,000. The board presents eight small numbered points laid out in a fixed starting arrangement, with point 1 already attached to the route before you do anything. Every other segment is yours to add by clicking or tapping the next required number. The interface draws the accepted line directly on a Canvas surface and appends it to a visible connection ledger, so the route you are building is always transparent. There is no timing pressure, no picture to reveal, and no remote feed — the whole puzzle lives in your browser as plain code with deterministic geometry. That makes it especially friendly for first-time players: you can take a wrong turn, learn exactly why it was rejected, and try again with a clear feedback message. By the end of a clean run you will have walked the route 1 → 2 → 3 → 4 → 5 → 6 → 7 → 8, completed seven segments, and watched the score land on exactly 1,000.
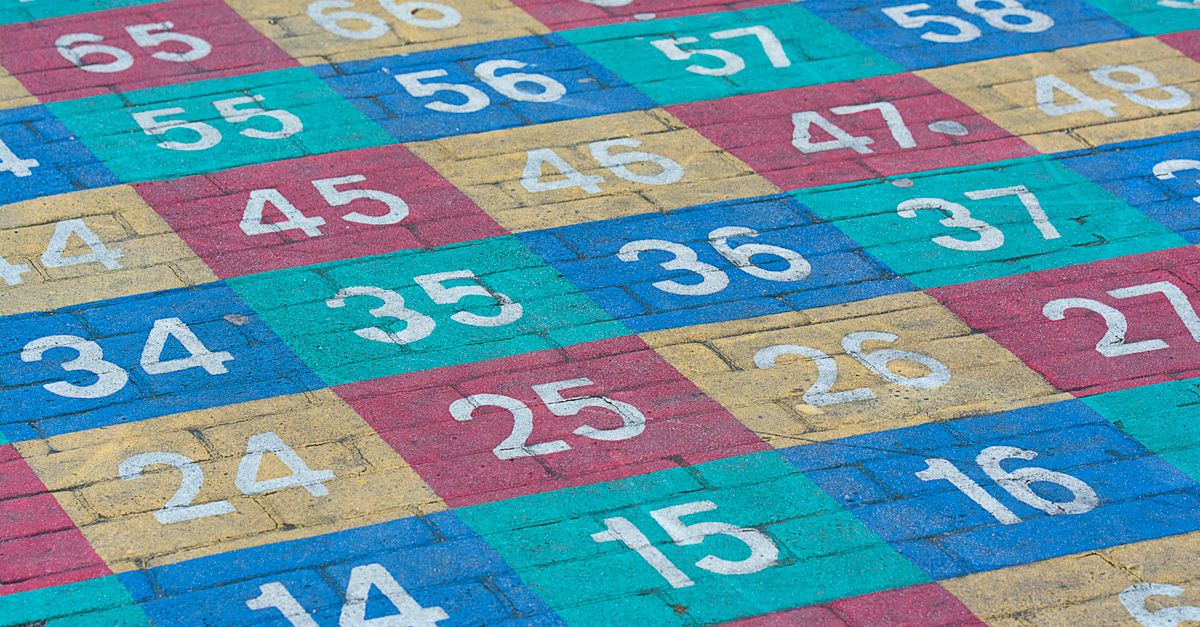
What Connect the Numbers Looks Like for a First-Time Player
On first load the puzzle shows eight small circular markers, each labeled with a number from 1 to 8, scattered across a square Canvas region. Above the board sit eight large numbered buttons arranged in numeric order so you can pick the next point with a mouse, a touch screen, or a keyboard. A small status row sits beneath the controls and displays the next required number, your current score, your mistake count, and a short layout identifier such as "layout-A" or "layout-B". A connection ledger runs below that and lists every segment you have committed so far, in the order you committed them. Point 1 is already attached to the start of the route before you do anything, so your work begins at choosing 2 and ends at choosing 8. None of the numbers move while you play, the board itself never scrolls, and there is no camera to drag — the geometry stays fixed and visible the whole time.
Because everything is rendered on a Canvas with deterministic coordinates, what you see on the screen is exactly what the validator is checking. There is no hidden level underneath, no random tile reveal, and no surprise animation. This makes the game particularly suitable for beginners who want to build intuition about crossings, endpoint contacts, and clean routes before they try larger logic puzzles. If you have never solved a geometric-path puzzle before, this board is a gentle place to start: the rules fit on a sticky note and the full route finishes in seven deliberate clicks.
The Beginner Rule Set: Anchor at 1, Then Walk 2 Through 8
The rules are deliberately small so a first-time player can keep them all in working memory.
- Point 1 is anchored automatically — the route already begins there, and you do not need to click anything to start.
- From that point on, the only legal move is to choose the next number in sequence: 2, then 3, then 4, and so on, up to 8.
- Choosing any other number is treated as an invalid attempt and produces a recoverable mistake message.
- A chosen point can only be connected to its immediate predecessor on the route — for example, after 3 has been connected you can only connect 4 to 3, not 3 to 5.
- Every accepted segment is drawn on Canvas and appended to the connection ledger so the route grows in front of you.
- A second distinct invalid attempt freezes the board, marks the run as a deadlock, and prevents any further path actions.
That last rule is the one beginners most often miss. The game gives you exactly one recoverable mistake — a second chance — but it deduplicates identical errors. If you click the same wrong number twice in a row, the duplicate is suppressed and you stay on your first chance. Only a different invalid attempt consumes the second chance and ends the run. This is a deliberate design choice that rewards careful inspection over rapid guessing.
How to Play Connect the Numbers for Beginners
- Open Connect the Numbers in your browser and let the fixed starting layout load.
- Look at the next-required indicator; it should already show 2 because point 1 is anchored for you.
- Click or tap the large numbered button labeled 2 — or tab to it with the keyboard and press Enter or Space.
- Watch the Canvas: the segment from 1 to 2 appears as a real drawn line, and the connection ledger adds the pair "1 → 2".
- Read the next-required indicator again; it now shows 3.
- Click or tap the button labeled 3 (or press the 3 key) to add the segment from 2 to 3.
- Continue through 4, 5, 6, and 7, confirming after each click that the new segment does not cross, touch, or overlap any earlier nonadjacent segment.
- Click or tap 8 to close the route. The seventh segment should land you on the final score.
- Confirm the score reads exactly 1,000 — if it does not, the run ended early on a deadlock and you should Restart.
If you are using a physical keyboard, the disclosed number keys 2 through 8 are accepted as direct shortcuts for the corresponding point buttons. Tab navigation also works on the numbered buttons themselves, so a player who cannot use a mouse can still reach the controls without a screen reader. The number keys are intentionally limited to 2 through 8 because point 1 is never a legal choice.
What the Validator Rejects (and Why)
Beginners often assume that any sequence of seven clicks will work, but the validator has a clear, narrow definition of a legal segment. The geometry check uses orientation signs plus on-segment bounds to compare a proposed segment against every earlier nonadjacent path segment. It distinguishes three classes of bad outcome.
| Case | What the validator sees | Result |
|---|---|---|
| Proper crossing | Two nonadjacent segments intersect at a point that is not an endpoint of either line. | Rejected as an invalid move. |
| Endpoint contact | The proposed segment ends on a point that already belongs to an earlier nonadjacent segment, but at a non-shared endpoint. | Rejected as an invalid move. |
| Collinear overlap | The proposed segment lies along the same line as an earlier nonadjacent segment and overlaps part of it. | Rejected as an invalid move. |
| Adjacent joint | The proposed segment shares its starting endpoint with the immediately previous segment. | Accepted — the normal route joint is always allowed. |
In plain English: you are always allowed to extend the route from where you just were, and you are not allowed to draw a line that runs into, across, or along any older line. The immediately previous segment naturally shares its starting endpoint with the new one, so that one allowed joint is excluded from the collision audit. Every other geometric conflict produces a rejected move and a mistake in the status row.
How the Score Reaches Exactly 1,000
The score is published and constant across every run on the same layout, so a beginner can predict it before finishing.
| Segment | Award | Cumulative score |
|---|---|---|
| 1 → 2 | 125 | 125 |
| 2 → 3 | 125 | 250 |
| 3 → 4 | 125 | 375 |
| 4 → 5 | 125 | 500 |
| 5 → 6 | 125 | 625 |
| 6 → 7 | 125 | 750 |
| 7 → 8 | 250 | 1,000 |
You can verify the total at a glance: 6 segments at 125 each gives 750, and the closing segment adds another 250 for exactly 1,000. 6 × 125 + 250 = 750 + 250 = 1,000. There is no partial credit for an incomplete route and no bonus for finishing quickly, so the only way to reach the final figure is to complete all seven segments on a clean layout. The score describes completion of this authored board only; it is not a standardized spatial, motor, educational, or cognitive result.
First-Puzzle Strategy for Beginners
Most beginners finish their first run within a couple of minutes by following three habits.
- Read the next-required indicator before every click. It always tells you which number is currently legal, and it is the single best guard against picking a point out of sequence.
- Trace the proposed segment in your head first. Mentally draw the line from your current point to the candidate and check whether it crosses or touches any older line. If it does, pick a different legal move — there is only one legal move at a time, so this check is short.
- Use Restart early and often. Restart restores point 1, the initial fixed layout, a zero score, and zero mistakes. There is no penalty for restarting, and it is faster than reasoning about a board where you have already used your second chance.
Another habit worth building on day one is to treat the layout identifier in the status row as a label, not a difficulty rating. Two layouts can look very different but share the same rule set and the same 1,000-point ceiling, so a beginner who masters one layout has effectively mastered the mechanics for all of them.
Restart, New Layout, and Keyboard Shortcuts
Two controls sit alongside the point buttons and are worth knowing from your very first session.
Restart wipes the run back to its starting state. Point 1 is reconnected automatically, the score returns to zero, and the mistake counter clears. The board itself does not change; you keep the same fixed opening layout, which makes Restart ideal for practicing the exact 1,000-point golden path until you can hit it cleanly.
New layout is the only control that introduces fresh geometry. Pressing it swaps the current arrangement for another deterministic seeded arrangement that has been checked for coordinate uniqueness, board bounds, and a completable ordered route. Randomness never runs silently during render, so the new layout is fully reproducible: if you ever see the same seed again, you will see the same coordinates. New layout is an explicit user action, not a side effect of anything else.
Keyboard players can tab between the point buttons and press Enter or Space to commit. The disclosed number keys 2 through 8 also commit the matching point directly, which is faster once the next-required indicator is on screen. The shared Boss Key that sits in the standard game shell is also still available, so a beginner who needs to hide the puzzle quickly can do so without abandoning the run.
For a deeper verification walkthrough of how the validator decides between a clean route and a crossing, the Number Connecting Puzzle: Verify Every Segment for 1,000 guide covers the same mechanics in more detail and is a useful next read once you have cleared your first clean run.
If you're weighing options, Counting Blocks Puzzle for Beginners: Your First 1,000 covers this in detail.