A code image is a rasterized PNG of source code text, rendered with a fixed-width font on a flat background so the snippet looks the same on every device that opens it. To generate code from image prompts, you actually run the process in reverse: paste the source code as plain text, choose a theme and font size, and the Code to Image Generator produces a clean PNG that you can drop into a blog post, tweet, slide deck, or pull request description. Because the renderer runs locally in the browser and never executes the snippet, it works for any language, any content, and any reasonable size, and your source stays private the whole time.
Developers usually want a code image when plain copy and paste does not survive the trip. Chat platforms strip indentation, email clients mangle tabs, social networks collapse whitespace, and PDFs lose syntax coloring. A PNG keeps the visual layout intact, including the leading spaces that determine whether Python, YAML, or Haskell will even parse. That is why almost every technical blog, conference talk, and product launch now uses rendered code images rather than pasted text. The challenge is producing those images quickly, repeatably, and without leaking proprietary code to a third-party server, which is exactly the gap that the Code to Image Generator fills.
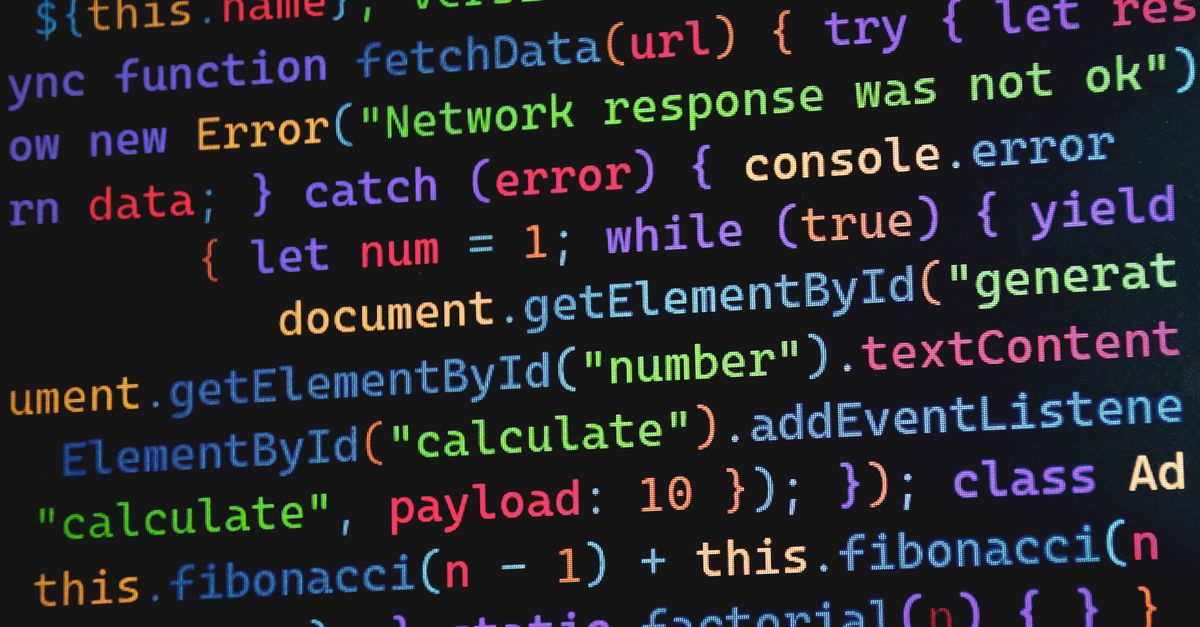
What the Code to Image Generator Does
The generator takes a block of inert source code, applies typography settings you choose, and writes a single PNG file. Inert means the tool never compiles, interprets, lints, or runs the text. It only treats the input as a string of characters and lays them out glyph by glyph inside a bounding box. There is no remote service, no upload step, and no telemetry inside the renderer, so secret keys, internal APIs, and unreleased code can pass through it on a work machine without leaving the browser.
The output is a bounded, natural-size PNG. Bounded means the renderer respects the character, line, and per-line limits so a runaway paste cannot produce a gigabyte image. Natural-size means the canvas is sized to exactly fit the rendered text at the chosen font size, with the padding you selected around it, rather than being scaled up or down to fill an arbitrary width. The file lands on disk as code-image.png, which keeps sharing workflows predictable.
Practical Situations Where a Code Image Helps
A few everyday cases show why developers reach for a code image instead of formatted text.
- Social posts and tweets. X, Bluesky, LinkedIn, and Mastodon all flatten whitespace, so a nicely indented snippet turns into a wall of text. A PNG keeps every space.
- Documentation and READMEs. Screenshots survive when markdown renderers drop syntax highlighting or when a build pipeline strips raw HTML.
- Slide decks. PowerPoint and Keynote paste text without monospace formatting, which misaligns ASCII art, regex tables, and SQL output.
- Bug reports. A code image attached to a ticket shows the exact bytes the reporter saw, including stray tabs and zero-width characters.
- Tutorials and newsletters. Email clients like Outlook rewrite tabs into runs of spaces, so subscribers see different indentation than the author wrote.
In each of these cases the goal is the same: freeze the visual representation of the code so it travels intact.
Generate the Code Image Step by Step
The following steps walk through the exact workflow the tool exposes. Treat it as a checklist you can repeat every time you need a fresh image.
- Open the Code to Image Generator. Load /dev/code-to-image/ in any modern browser. No login, extension, or build step is required.
- Paste the source code as text. Copy the snippet from your editor or terminal and drop it into the input field. The renderer accepts any language, including JSON, SQL, shell, and prose-style config files. Stay inside the visible character limit, the line limit, and the per-line limit so the output stays within the bounded canvas.
- Pick a light or dark theme. Choose the theme that matches the surrounding context. Light themes read well in printed PDFs and most blog templates, while dark themes match IDE editors and slide decks projected on screens.
- Set the font size and padding. A larger font makes the image readable on small phone screens; a smaller font fits more lines per image. Padding controls how much breathing room sits between the text and the edge of the PNG.
- Generate the PNG. Click the generate action. The renderer computes the natural-size canvas from the longest line, the line height, and the padding, then draws the glyphs with a fixed-width font.
- Inspect the preview and the metrics. The preview shows the image exactly as it will download. Below it, the actual pixel dimensions, line count, and PNG file size appear so you can confirm the snippet fits the platform you are posting to.
- Download code-image.png. Click the download control. The file saves with the predictable name code-image.png, ready to attach or drag into a document.
Because every step happens locally, you can iterate quickly: tweak the padding, regenerate, and re-download as many times as you like without waiting on a server.
Light vs Dark Theme: Choosing the Right Look
Theme choice is not just an aesthetic call. It changes how the image behaves in the surrounding medium, so it pays to match the rendering to the destination before clicking generate.
| Aspect | Light theme | Dark theme |
|---|---|---|
| Best destination | Printed PDFs, white-background blogs, light-mode docs | Dark-mode blogs, IDE-adjacent content, projector slides |
| Contrast on common surfaces | Strong on white, weaker on dark backgrounds | Strong on dark, weaker on white backgrounds |
| Print legibility | High, since toner or ink stands out against light glyphs | Lower, dark glyphs can smudge on cheap printers |
| Reading fatigue in long posts | Standard for daytime reading | Easier on the eyes at night and in low-light feeds |
A safe rule of thumb is to render twice when the image will appear in both light and dark contexts: keep a light PNG for printable material and a dark PNG for social and embedded previews, then pick the right one when you publish.
Reading the Preview Metrics Before You Download
The preview pane exposes four pieces of information that matter when a code image has to fit somewhere specific.
- Preview. The thumbnail uses the exact pixel buffer that will be saved, so what you see is what you ship.
- Actual dimensions. Width and height in pixels, computed from the longest line, the line count, the font size, and the padding.
- Line count. The number of source lines after wrapping inside the per-line limit. If a single line exceeds the limit, the renderer truncates rather than overflowing.
- PNG size. The byte size of the encoded image, useful for staying under attachment caps in chat tools and email.
When the metrics show a problem, the fix is almost always in the source rather than the settings. Trimming trailing whitespace, shortening comments, or splitting a long SQL query into two stacked images usually does more than shrinking the font.
Tips for Clean, Share-Ready Code Images
A few habits make the output look professional instead of screenshot-grade.
- Strip trailing spaces before pasting, so the right edge of the image stays flush.
- Use a consistent tab width in the source, because the renderer keeps whatever the text already contains.
- Keep lines short enough that they survive a smaller font size on phones, since most social feeds shrink images to fit narrow columns.
- Reuse code-image.png as the filename when archiving, so version control diffs of the surrounding document stay readable.
- Render dark and light variants of important snippets so you can switch when the surrounding theme changes.
These are the same habits that make pasted code pleasant to read, so adopting them improves more than just the PNG.
Common Pitfalls and How to Avoid Them
Even with a local renderer, a few recurring mistakes can ruin an otherwise clean code image. The first is mixing tabs and spaces in the same snippet: paste the text into a plain editor first, convert tabs to spaces (or vice versa), and confirm the indentation looks uniform before generating. The second is leaking secrets through metadata; even though the tool does not upload anything, the PNG itself lives on disk and may be shared, so redact API keys, tokens, and customer identifiers before pasting. The third is ignoring the per-line limit: a single very long line will silently truncate, and readers will assume the truncation is part of the code. Split long lines on a logical boundary such as a function argument, a JSON property, or a SQL keyword before regenerating. Finally, watch for non-printable characters such as zero-width spaces or BOM markers; they survive copy-paste from chat apps and can shift the rendered text by a pixel in ways that are hard to diagnose after the fact.
Comparing Rasterized Code Images With Other Sharing Formats
Developers share code in several formats, and each has trade-offs. Plain text is the smallest payload but loses formatting on every platform. Syntax-highlighted HTML keeps color and structure but breaks inside rich-text editors that strip tags. Live embeds such as GitHub gists or CodePen render perfectly on the open web but require a network round-trip and break inside offline documents. A rasterized PNG sits in the middle: it preserves the exact visual layout, works in any medium that accepts images, and travels through email, chat, and slide decks without modification, at the cost of being unsearchable and not copy-pasteable. For most public-facing sharing, that trade is acceptable; for internal review of large codebases, plain text plus a real diff tool is still the better default.
| Sharing format | Preserves indentation | Needs network to view | Copy-paste friendly | Best for |
|---|---|---|---|---|
| Plain text | Only if the destination respects whitespace | No | Yes | Internal docs, code reviews, README files |
| Highlighted HTML | Yes, inside browsers | No (once loaded) | Partially | Web posts, developer blogs with custom themes |
| Live embed (gist, CodePen) | Yes, via remote renderer | Yes | No | Public tutorials, runnable demos |
| Rasterized PNG (code image) | Yes, frozen in pixels | No | No | Social posts, slides, newsletters, bug tickets |
More About Local Code Image Generation
The questions below cover the points readers most often raise about rendering code as a PNG in the browser, from privacy and limits to fonts and accessibility. Each answer is short and direct so you can scan them quickly before generating.
Related Workflows You Can Run in the Browser
Once a code image is ready, you usually need to verify or transform the source that produced it. A quick sanity pass through a JSON or XML tool catches broken snippets before they hit the image. If you maintain CSS layouts alongside your snippets, the walkthrough on how to make a 3x3 grid in CSS pairs nicely with the dark theme that many front-end developers prefer. For diff-style updates, the guide on using a diff checker in VS Code through the browser keeps the local-first promise. When JSON payloads are part of the same post, formatting them through the JSON formatting workflow first makes the resulting image easier to read. The ASCII code reference for C++ is a handy companion if the snippet you are rendering relies on non-printable characters or escape sequences that need to be visible in the final image.