To calculate flooring square feet, multiply the room's length by its width in feet, then add a waste allowance of 5–20% depending on the layout, and finally divide that total by the coverage per box rounded up to whole boxes. That's the three-step math behind every flooring order: measure the floor, allow for offcuts and pattern matching, then convert area into boxes you can actually buy. Most people do this calculation once per project, so getting it right matters — order too little and the job stalls mid-lay when a different dye lot shows up; order too much and you've spent money on planks that will sit in a garage. A single rectangular room makes the math simple, but the same logic scales to L-shaped spaces, multi-room projects and tricky patterns. The rest of this guide walks through each piece in plain language, gives you one fully worked example, and shows where a calculator can do the arithmetic for you the moment you finish measuring.
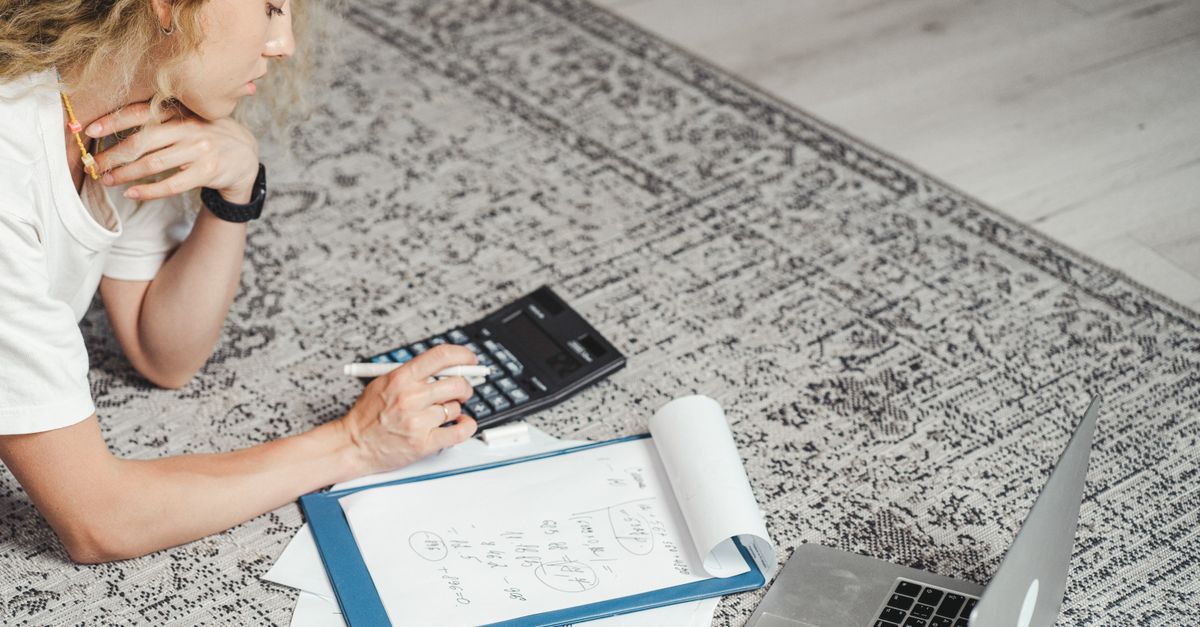
The flooring square foot formula
The core calculation has not changed since flooring was first sold by the box: a room's area is its length multiplied by its width. With both numbers in feet, the result comes out in square feet (sq ft). A 12 ft by 10 ft bedroom is exactly 120 sq ft, and a 20 ft by 15 ft living room is 300 sq ft. The math is the same whether you are laying laminate, hardwood, vinyl plank, carpet or tile — every flooring product is sold by area, so the unit that matters is square feet (or square metres).
Keep two habits that prevent the most common errors:
- Measure every wall at floor level, not at chest height where skirtings can fool you.
- Keep both numbers in the same unit before you multiply. Mixing 12 ft and 3 m gives an answer that looks like sq ft but is actually nonsense.
If you would rather skip the multiplication entirely, a free Flooring Calculator takes the length and width and returns the area the moment you type, in feet or metres.
Feet or metres — keeping units consistent
You can do this calculation in either imperial or metric, and the formula stays identical: area = length × width. The only rule is that both measurements must be in the same unit, and the answer is always in that unit squared.
| From | To | Value |
|---|---|---|
| 1 foot | metres | 0.3048 m |
| 1 metre | feet | 3.2808 ft |
| 1 sq ft | square metres | 0.0929 m² |
| 1 m² | square feet | 10.7639 sq ft |
A 4 m by 3 m room is 12 m². A 12 ft by 10 ft room is 120 sq ft. They are not the same room — the metric one is a small bathroom or ensuite, while the imperial one is a typical bedroom — but the formula behaves the same way in either system.
If you are ordering from a supplier that lists coverage per box in sq ft, do the whole calculation in feet. If the box is sold in m², work in metres. Switching units mid-calculation is the single fastest way to end up with the wrong order.
Calculating flooring square feet step by step
Use this sequence whenever you start a new flooring project. It works for any floor type and any unit.
- Measure the longest wall and the wall perpendicular to it at floor level. Write both numbers down in the same unit — feet or metres, your choice.
- Multiply the length by the width to get the room area. A 12 ft by 10 ft room is 120 sq ft; a 4 m by 3 m room is 12 m².
- Pick a waste percentage based on your layout. Use 5–10% for straight or brick-bond installations, and 15–20% for diagonal, herringbone, parquet or large-format patterned tiles.
- Add the waste to the room area: area to buy = room area × (1 + waste ÷ 100). A 120 sq ft room with 10% waste becomes 132 sq ft.
- Find the coverage per box on the product label or product page — usually something like 20 sq ft or 2 m².
- Divide the area to buy by the box coverage, then round up to the next whole box. 132 ÷ 20 = 6.6, which rounds up to 7 boxes.
- Keep the calculation on your phone when you go to the store. If the exact box coverage differs from what you assumed, redo step 6 with the printed number before you pay.
The Flooring Calculator runs the area, waste and box math live as you type, so you can change the room size, the waste percentage or the box coverage and watch the box count update without re-doing the arithmetic by hand.
Handling L-shaped and awkward rooms
The length × width formula assumes a rectangle. Real rooms are often not rectangles — they are L-shaped, T-shaped, or have alcoves, bay windows or a recess behind the door. The trick is to split the room into rectangles, calculate each one, and add the areas together.
For an L-shaped room, draw the floor plan on paper and mark two rectangles that cover the whole shape, overlapping if needed. Measure each rectangle's length and width, calculate its area, then sum. A 14 ft by 10 ft main rectangle (140 sq ft) plus a 6 ft by 4 ft nook (24 sq ft) gives a total of 164 sq ft before waste.
For a room full of cut-outs (around a kitchen island, a bathtub, or a stair post), the same idea applies: split the space into rectangles and triangles, calculate each, and add them. Triangles use base × height ÷ 2. If the geometry feels fiddly, add the rectangles yourself — the Flooring Calculator assumes a single rectangular room.
Two practical tips for awkward rooms:
- Round each rectangle's area up slightly when you add it — better to order one extra box than to come up short around a tricky corner.
- Raise your waste percentage by 2–3% for any room with more than four corners or any feature that needs a custom cut.
Choosing a waste percentage for your layout
Waste is the flooring you buy but never walk on — the offcuts at the walls, the trimmed pieces around doorways, the planks that crack when you tap them into place. Every installation has some. The percentage you add depends entirely on how you are laying the floor.
| Layout | Recommended waste |
|---|---|
| Straight, plank length parallel to the longest wall | 5–10% |
| Brick-bond (offset joints) | 7–10% |
| Diagonal (planks at 45°) | 15–20% |
| Herringbone or chevron | 15–20% |
| Parquet or other geometric pattern | 15–20% |
| Large-format tiles (over 18 in / 45 cm) | 15–20% |
| Heavily patterned or book-matched tiles | 15–20% |
If you are unsure which category you fall into, 10% is a safe default for a normal straight or brick-bond layout. Raise it for any pattern that needs angled cuts, planks that need to be aligned across multiple boxes, or tiles where one cracked piece ruins the whole box.
A worked example
Here is the same calculation run end to end, with the arithmetic written out so you can follow it.
Room: 12 ft long by 10 ft wide. Layout: straight planks, brick-bond joints. Box coverage: 20 sq ft per box.
Step 1 — area. 12 × 10 = 120 sq ft.
Step 2 — waste. A straight brick-bond layout falls in the 7–10% band, so we use 10%. Area to buy = 120 × (1 + 10 ÷ 100) = 120 × 1.10 = 132 sq ft.
Step 3 — boxes. 132 ÷ 20 = 6.6. Round up to the next whole box: 7 boxes.
Sanity check: 7 boxes at 20 sq ft each is 140 sq ft of material for a 120 sq ft room. That is roughly 17% more flooring than the bare floor area, which is exactly what you want — enough headroom for offcuts and a couple of spare planks without overspending.
If the same room were laid in a herringbone pattern instead, the waste jumps to 15–20%. At 17% (mid-range), the area to buy would be 120 × 1.17 = 140.4 sq ft, and 140.4 ÷ 20 = 7.02, still rounded up to 7 boxes. At 20%, 120 × 1.20 = 144 sq ft, and 144 ÷ 20 = 7.2, rounded up to 8 boxes. The pattern you choose can change the box count by a full box, which is why it pays to decide the layout before you order.
Measuring tips before you order
A few habits that catch most measurement errors before they turn into a wrong order:
- Measure each wall twice and write both numbers down. If they differ by more than a centimetre or half an inch, measure a third time.
- Round each individual measurement up to the next whole inch or centimetre before you multiply. Rounding down leaves you short.
- Check whether the room is truly square. Measure corner to corner on both diagonals — if the numbers match, the room is square; if they don't, the floor area is still length × width, but the offcuts at the non-square corners will be larger, so bump your waste percentage up.
- Subtract areas that will not be floored (a permanent island, a built-in bath, a fireplace hearth) from the room area before adding waste.
- Keep the final number on your phone at the store. If the actual box coverage printed on the carton differs from what you assumed, redo the box calculation on the spot with the printed number.
These rules apply to any room, any floor type, and any unit. Run them once per project and you will order the right amount of flooring almost every time.