To calculate how much flooring you need, start with the room’s length and width, multiply them to get the bare floor area, then add a waste percentage that matches your layout pattern. A straight plank run typically requires 5–10 % extra material; diagonal, herringbone, or parquet patterns need 15–20 % to account for angled cuts and pattern repeats. Once you know the total area including waste, divide by the coverage per box (printed on the carton) and round up to the next whole box. This method eliminates guesswork, prevents costly shortages, and ensures you buy only what you will actually use.
Whether you are installing hardwood, laminate, vinyl plank, or tile, the same basic math applies. Measure each room separately, add the areas together if the same flooring runs through multiple spaces, then apply the appropriate waste percentage. For open-plan areas with alcoves or closets, treat each section as a separate rectangle and sum the results. If the room has built-in islands, fireplaces, or staircases, subtract their footprint from the total area before adding waste. Always measure in the units printed on the flooring carton—square feet for North American products, square meters for most European and Asian brands—to avoid unit-conversion errors.
Many homeowners underestimate how much material is lost to cuts, especially in rooms with multiple doorways or irregular walls. A 10 % waste allowance is a safe starting point for a simple rectangular room; for a complex layout with multiple angles or a repeating tile pattern, increase the allowance to 15–20 %. The Flooring Calculator lets you toggle the waste percentage and instantly see the impact on the number of boxes required. This transparency helps you budget accurately and avoid the frustration of discovering you are one box short on installation day.
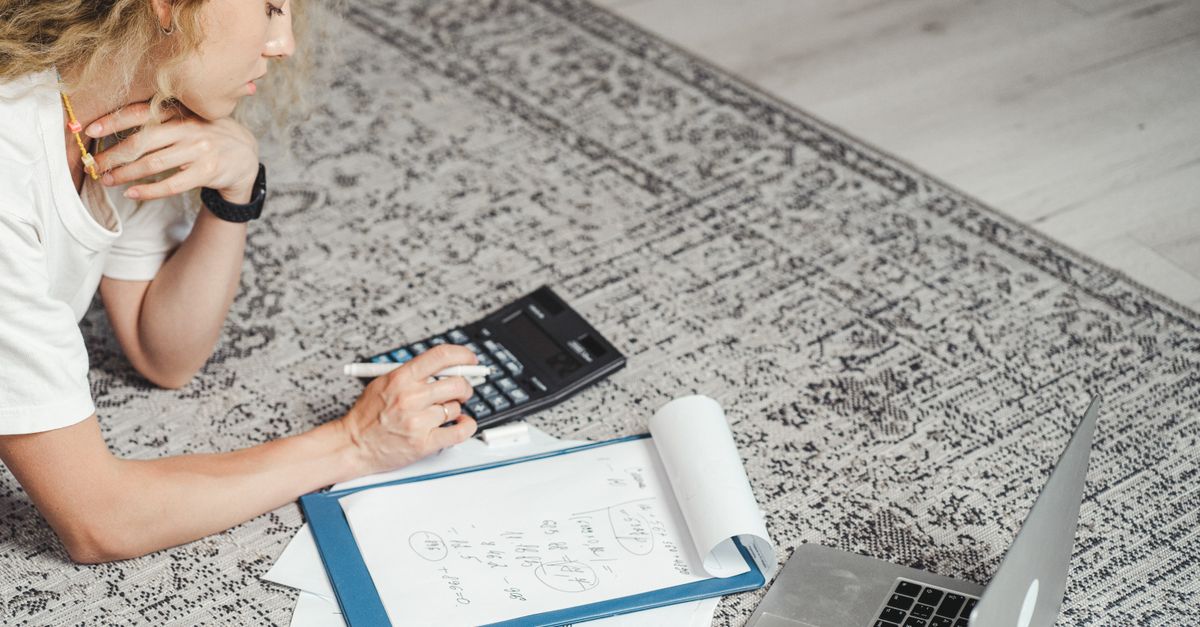
Why a Dedicated Flooring Calculator Beats Manual Math
Manual calculations risk three common mistakes: unit mismatches, incorrect waste percentages, and rounding errors. If you measure a room in feet but the flooring carton lists coverage in square meters, a simple conversion error can lead to buying 10–15 % too much or too little material. Waste percentages are often guessed rather than calculated; a 5 % underestimate in a 500 sq ft room means 25 sq ft short—enough to leave a visible gap. Finally, dividing the total area by the coverage per box and rounding down instead of up guarantees a shortage; stores sell only whole boxes, and most retailers do not accept opened returns.
The Flooring Calculator eliminates these risks by enforcing consistent units, offering preset waste percentages for common patterns, and automatically rounding up to the next whole box. It also displays the total area with waste, the exact number of boxes required, and the leftover material in the same units as the carton, so you can verify the math at a glance. This level of detail is especially valuable for large projects or high-end materials where over-ordering can waste hundreds of dollars.
How to Measure Your Room Accurately
- Clear the room of furniture and rugs so you can measure the full floor area.
- Use a laser measure or a steel tape measure for precision; cloth tapes can stretch and give false readings.
- Measure the longest wall for length and the adjacent wall for width, recording both numbers in the same unit (feet or meters).
- If the room has alcoves, closets, or bay windows, measure each rectangular section separately and add the areas together.
- For rooms with built-in islands, fireplaces, or staircases, measure the footprint of each obstruction and subtract it from the total area.
- Double-check each measurement by measuring again from the opposite wall; discrepancies of more than 1 % indicate a crooked wall or measurement error.
- Enter the final length and width into the Flooring Calculator to get the bare floor area.
Choosing the Right Waste Percentage for Your Layout
| Layout Pattern | Recommended Waste Allowance | Typical Use Case |
|---|---|---|
| Straight plank (parallel to longest wall) | 5–10 % | Most residential living rooms, bedrooms, and hallways |
| Diagonal plank (45° to walls) | 15 % | Small rooms or accent areas to create visual interest |
| Herringbone or chevron | 15–20 % | High-end hardwood or tile installations with repeating patterns |
| Parquet or mosaic tile | 20 % | Custom patterns with many small pieces and frequent cuts |
| Large-format tile (24" x 24" or larger) | 10–15 % | Open-plan kitchens and bathrooms where tile cuts are visible |
If you are unsure which pattern you will use, start with 10 % waste and adjust later. The Flooring Calculator lets you change the waste percentage and see the impact on the number of boxes in real time. For example, a 200 sq ft room with 10 % waste requires 220 sq ft of material; at 20 % waste, the total jumps to 240 sq ft. If each box covers 20 sq ft, the difference is one extra box—worth the peace of mind for complex patterns.
How to Use the Flooring Calculator Step by Step
- Select your preferred units (feet or meters) from the dropdown menu.
- Enter the room length and width in the fields provided; the calculator instantly displays the bare floor area.
- Choose a waste percentage from the preset options or enter a custom value.
- Enter the coverage per box as printed on the flooring carton (e.g., 20 sq ft per box).
- The calculator displays the total area with waste, the number of whole boxes required, and the leftover material in the same units as the carton.
- Repeat for each room if the same flooring runs through multiple spaces, then sum the box counts for your final order.
For rooms with multiple sections, measure each rectangle separately, enter the dimensions into the calculator, and add the box counts together. If you are installing different flooring in different rooms, use the calculator for each material and keep the results separate. Always double-check the coverage per box before finalizing your order; some cartons list coverage in square meters while others use square feet, and mixing them up can lead to costly mistakes.
Common Mistakes to Watch For
Measuring only the visible floor area and forgetting to account for closets, alcoves, or under-cabinet spaces is a frequent oversight. These hidden areas can add 10–20 % to the total material requirement, especially in kitchens and bathrooms. Another common error is using the wrong waste percentage; a straight plank layout in a simple rectangular room needs only 5–10 % extra, while a herringbone pattern in an irregularly shaped room may need 20 % or more.
Unit mismatches are another pitfall. If you measure a room in feet but the flooring carton lists coverage in square meters, a simple conversion error can lead to buying 10 % too much or too little material. The Flooring Calculator enforces consistent units, so you never have to convert manually. Finally, rounding down instead of up when dividing the total area by the coverage per box guarantees a shortage; stores sell only whole boxes, and most retailers do not accept opened returns. The calculator automatically rounds up to the next whole box, so you always buy enough material.
How the Calculator Handles Complex Room Shapes
For rooms with alcoves, bay windows, or built-in islands, break the floor into simple rectangles and measure each one separately. Enter the dimensions of each rectangle into the Flooring Calculator, then add the box counts together. If the room has a fireplace or staircase, measure the footprint of the obstruction and subtract it from the total area before adding waste. The calculator lets you enter multiple sections and sums the results automatically, so you can handle even the most irregular layouts with ease.
For open-plan areas with multiple doorways, treat each section as a separate rectangle and measure them individually. If the same flooring runs through the entire space, add the areas together before applying the waste percentage. If different materials are used in different sections, use the calculator for each material and keep the results separate. This approach ensures you buy the right amount of each material and avoid costly shortages or excess.
What to Do with Leftover Flooring
Even with precise measurements, you will almost always have leftover material. Store any unopened boxes in a cool, dry place for future repairs or small projects. Opened boxes can be used for patching damaged areas, creating custom thresholds, or covering small closets and pantries. If you have a significant amount left over, check with the retailer about their return policy; some stores accept unopened boxes within 30 days of purchase, while others do not accept returns at all.
For high-end materials, consider keeping an extra box on hand for future repairs. Hardwood and tile can be damaged by water, pets, or heavy furniture, and matching the exact color and grain years later can be difficult. The Flooring Calculator displays the leftover material in the same units as the carton, so you can decide whether to keep it or return it based on the actual amount.
If you are installing flooring in multiple rooms, use the calculator to estimate the total material needed for the entire project. This approach lets you buy all the material at once, often at a discount, and ensures consistent color and grain throughout the space. For large projects, consider ordering 5–10 % extra to account for future repairs; the cost of one extra box is minimal compared to the hassle of trying to match discontinued materials years later.
Related guide: How to Calculate Annular Area with the Free Online Tool.
Related reading: How to Calculate Fraction to Percentage in One Step.
Related reading: How to Calculate Gas Mileage Accurately in Minutes.
Related reading: Find the GCF of Any Numbers Instantly with a Free Calculator.