A volume changer on Mac that runs in the browser lets you raise, reduce, or mute the playback loudness of any audio file by selecting a linear gain from 0% through 400% and downloading the result as a 16-bit PCM WAV — all without installing software or uploading the file.
On macOS, the phrase "volume changer" usually means the system volume — the menu bar slider, the F10/F11/F12 keys on Apple and Magic keyboards, the Sound pane in System Settings, or per-app sliders inside apps that expose them. Those controls change what the speakers play at the moment of playback. They do not edit the audio file, and they cannot make a quiet recording louder when it is shared, uploaded, or imported into another program.
The Lizely Volume Changer takes a different approach. It decodes the audio file in the current browser tab, multiplies every sample by the selected gain, and writes a new WAV file that carries the new loudness with it. The source file is never uploaded, queued, or analyzed by any external service, so it works equally well on a MacBook Air over hotel Wi-Fi and on a Mac Studio on a closed network. The decoded file never leaves the browser tab, the temporary object URL that produces the download is revoked when the page changes its settings or closes, and the AudioContext is released after processing.
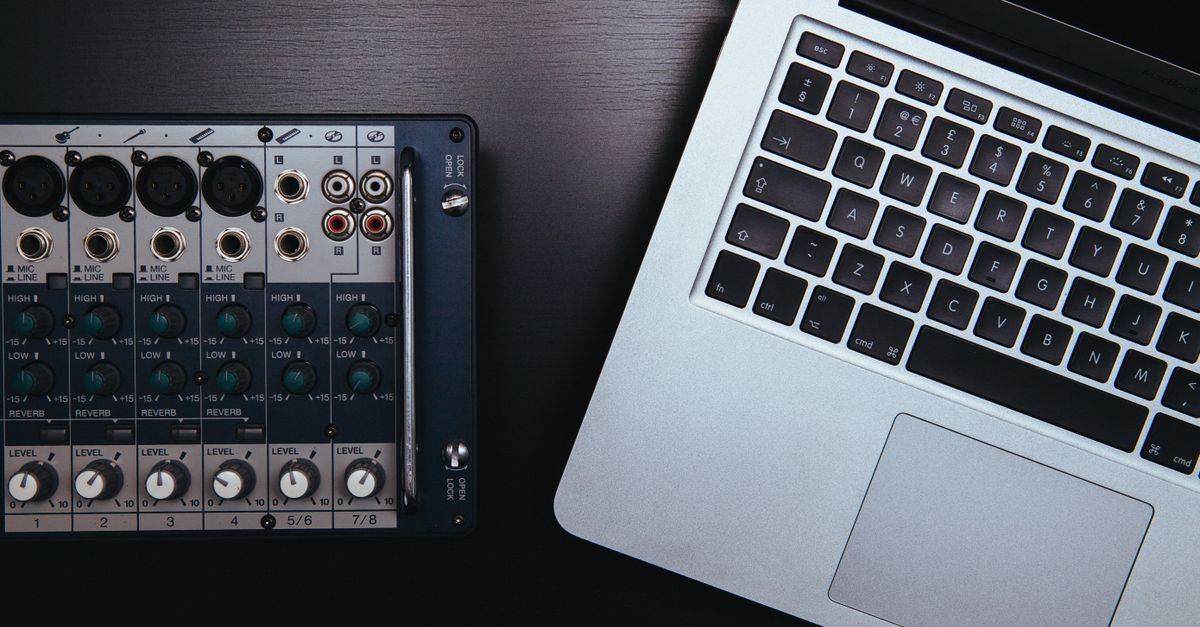
What the Volume Changer Does on Mac
The tool turns one audio file into another audio file. It accepts browser-decodable MP3, WAV, M4A, AAC, Ogg, WebM, and FLAC sources, with a 50 MiB input ceiling and a five-minute decoded duration cap. Eight-channel files are accepted; channel-sample totals above 30 million are rejected before any gain is applied. If a file passes those checks, the Web Audio decoder turns the entire encoded payload into floating-point channel samples inside the current tab.
The percentage you select is a direct linear amplitude multiplier. At 100%, samples keep their decoded amplitude. At 50%, every finite sample is multiplied by 0.5. At 200%, every finite sample is multiplied by 2. At 0%, the output is digital silence for the same duration, sample rate, and channel count as the source. Values that would exceed +1 or fall below −1 after the multiplication are clipped to digital full scale, and the count of those crossings is reported alongside the post-clip peak.
Browser Setup on macOS
macOS supplies the codec coverage, not Lizely. Safari ships with AAC and MP3 decoding built in, and recent versions add Ogg, WebM, and FLAC through the system media stack. Chrome and Firefox on macOS bundle their own decoders and usually accept the broadest range of formats. A filename extension is not proof of decodability — a .wav file that contains a codec your Safari build cannot read will still produce an error rather than a silent output. If decoding fails, the tool stops and shows the error before any gain is applied, so you never end up with an empty or partial WAV.
Downloads land in the standard macOS Downloads folder unless you have changed that destination in Safari or Chrome settings. The file ends in -volume-adjusted.wav, which makes it easy to keep alongside the original. macOS Quick Look, QuickTime Player, Logic Pro, GarageBand, and the Music app all open the exported WAV natively, so the result can be auditioned and imported without conversion.
How to Change an Audio File's Volume on Mac
- Open Volume Changer in Safari, Chrome, or Firefox on your Mac.
- Choose a supported audio file no larger than 50 MiB and wait for the file name to appear in the source field.
- Move the volume slider to a value between 0% (silence) and 400% (4x) — start near 100% if you are unsure where to begin.
- Select Change volume and wait for the browser to finish decoding, multiplying, and encoding.
- Preview the WAV result, then read the peak-after-clipping value and the clipped-sample count shown beside the preview.
- Download the file only after you have listened to the complete result end to end.
Changing the source file or the percentage invalidates the previous result and revokes the previous download URL. A newer job identifier prevents an older asynchronous decode from overwriting a more recent setting. Keep the original file — once samples have been clipped, the operation cannot recover information that was already lost in the source, and repeated PCM conversions can complicate version control.
Linear Gain vs Decibels: What the Numbers Mean
The Volume Changer slider is not a dB slider. Linear amplitude and dB describe the same change through different lenses, and the conversion uses the formula dB change = 20 × log₁₀(linear multiplier). At 200%, the multiplier is 2.0, so 20 × log₁₀(2.0) works out to roughly +6.02 dB of amplitude change before any clipping kicks in. That is the same 6.02 dB that doubling any signal produces, and it is the opposite of the −6.02 dB you would get at 50% (multiplier 0.5). A "200% volume" knob is not "200 dB louder"; the relationship is logarithmic, not linear.
| Volume setting | Linear multiplier | Description |
|---|---|---|
| 0% | 0.0 | Digital silence, original duration and channels preserved |
| 50% | 0.5 | Half amplitude; loud passages drop by roughly 6 dB |
| 100% | 1.0 | No change; samples keep their decoded amplitude |
| 200% | 2.0 | Double amplitude; +6.02 dB before clipping |
| 400% | 4.0 | Quadruple amplitude; the upper bound of the slider |
Linear gain is not loudness normalization. It does not calculate true peak, LUFS, replay gain, or platform-specific targets such as streaming loudness. Perceived loudness also depends on frequency balance, dynamics, duration, speakers, and listening conditions, so two files raised to 200% can still sound very different from each other. For professional delivery, use a measured audio workflow and monitor the exported WAV through quality monitoring, the way you would monitor any mastering pass.
Reading the Peak and Clipped-Sample Reports
After processing, the tool reports the peak amplitude it measured after clipping and a count of samples that crossed the digital full-scale boundary. A peak close to 1.0 (or −1.0) means the loudest sample in the result sits at full scale. A nonzero clipped-sample count means the gain pushed some samples above +1 or below −1, and they were clamped to the supported range. Clipping is the primary source of audible distortion in this kind of operation, so a nonzero count is a strong signal that you should reduce the percentage and try again.
Zero clipping does not guarantee ideal perceived loudness, however. A quiet recording can pass through the gain stage untouched and still feel underpowered on small MacBook speakers. Use the preview to judge perceived loudness, and use the clipped-sample count to judge whether the gain pushed past the ceiling. For a safe edit, begin near 100%, preview the full output through suitable headphones or speakers, and check the clipped-sample report before you commit. Reduce the percentage if distortion appears, and keep the original file in case you want to start from a known-good source.
Common Use Cases for Adjusting Audio File Volume on Mac
Voice Memos from the iPhone, when imported through the Files app or AirDrop, often arrive as quiet M4A files that need a lift before they can sit alongside a louder podcast bed. The Volume Changer accepts those M4A files directly through Safari's built-in AAC support, so no conversion is required before or after the edit. The same path works for old cassette captures, vinyl rips, and screen recordings exported at a low level.
Alarm sound files downloaded from the web frequently arrive at a normalized level that is too quiet for a bedside Mac or too loud for a shared office. Selecting 0% mutes the file while keeping its duration and channel layout, which is useful when you want a placeholder silent track of the right length. Selecting 200% or 400% lifts very quiet notification sounds above the system playback floor. The exported WAV can be renamed, dropped into the macOS Sounds library, or assigned to a calendar reminder through the Sound picker.
Presentations and shared videos also benefit from file-level gain. A short audio clip embedded in a Keynote deck will play at whatever gain the deck author baked in, and a viewer cannot reach into the system volume to compensate without affecting the rest of the room. Editing the file ahead of time ensures consistent playback on every Mac and every external display.
For audio that you only want to listen to louder — without saving a new file — use the macOS system volume controls, including the menu bar slider, the F10/F11/F12 keys, and the per-app Sound settings. Those controls are the right tool for live listening. The browser-based file edit is the right tool when the new loudness needs to travel with the file.
For more on how the linear gain approach compares to normalization and other dynamic processing, see the guide on changing audio volume without losing quality. The W3C Web Audio API defines the decodeAudioData behavior the tool relies on, and the exported WAV follows the RIFF/WAVE structure described in the Microsoft WAVEFORMATEX reference.
If you're weighing options, Comparing Approaches to Use an Audio Pitch Changer covers this in detail.