The right approach to generate an audio waveform depends on which question you need the picture to answer — sample amplitude over time, frequency content, or perceived loudness — and the Audio Waveform Generator delivers the first of these as a deterministic, browser-local SVG peak envelope. Time-domain peaks show the minimum and maximum sample value inside each short bucket of decoded audio, drawn as one vertical line per bucket so short transients survive honestly. That simple envelope is the right pick when you need a static, scalable, editable image for slides, social posts, video timelines, or design mockups, and you do not need calibrated loudness, frequency, or beat information. Frequency-aware methods (spectrograms) and loudness-aware meters answer different questions, require different math, and usually a steeper learning curve. A peak-envelope approach also keeps processing inside the current browser tab via the Web Audio API's AudioBuffer interface, so the original file and the SVG result never travel to a server. This article walks through how to decide whether a time-domain peak envelope is the right method for your goal and how to generate one end-to-end with the Audio Waveform Generator.
Match the Visualization to the Question You Need Answered
The fastest way to choose poorly is to start generating before you know what question the picture must answer. Three common waveform families solve three different problems, and each demands a different toolchain:
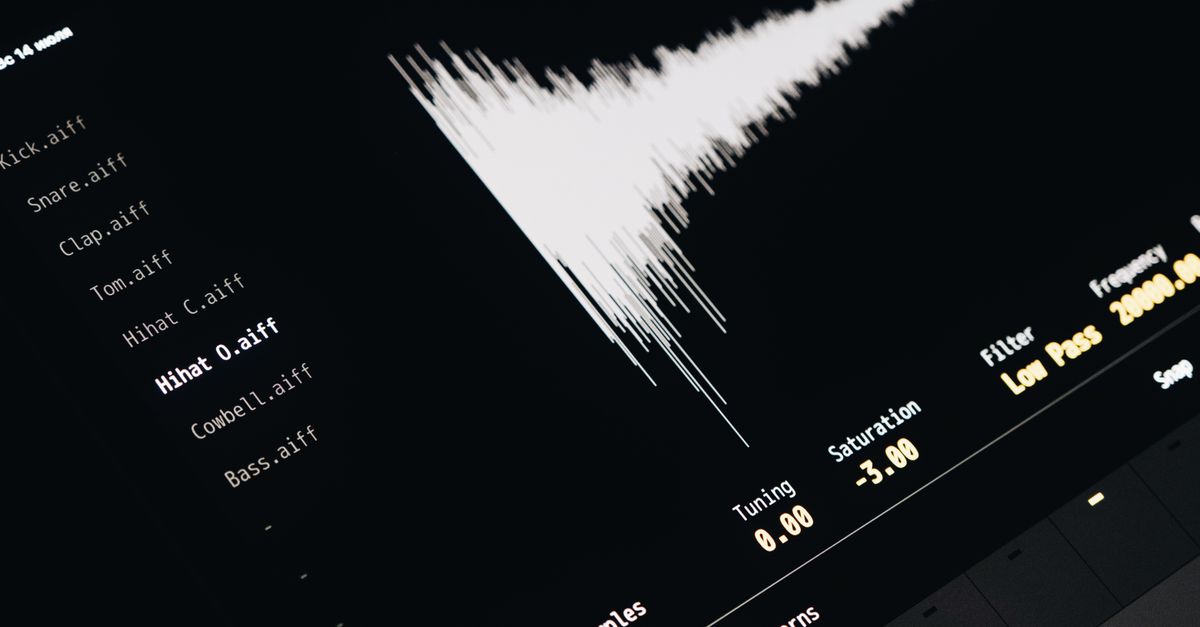
- Time-domain peak envelopes draw the min/max sample value inside small, contiguous ranges of audio. They answer "how loud did the signal get, and when?" with a single image that scales cleanly.
- Spectrograms compute frequency content over time, usually via a short-time FFT. They answer "what notes, harmonics, or noise are present, and when?"
- Loudness meters apply a perceptual model and time-window integration. They answer "how loud will this sound to a listener, on average or in peaks?"
If your deliverable is a static visual asset — a waveform strip for a podcast promo, a hero image for an audio product page, a placeholder under a video player — a peak envelope is the right family to ask. If you need to diagnose EQ, transients, mastering compliance, or hearing risk, the peak envelope is not the right family to ask, and a different tool should be your next stop. The Audio Waveform Generator is explicitly a time-domain peak envelope; it does not compute frequency, beats, notes, loudness, speech content, or musical structure.
Pick a Local Browser Method When Privacy and Editability Matter
Once you know you want a peak envelope, the next decision is where the math runs. Server-side generators upload the file, process it on remote hardware, and return a PNG or an SVG. That works for many people, but it has trade-offs that often steer the decision the other way:
- The audio leaves your device, which is a problem for unreleased music, client-confidential voice notes, medical or legal recordings, or internal product audio.
- The returned image is often a flattened bitmap, so it cannot be re-colored, re-sized, or re-typed cleanly in a vector editor without quality loss.
- The result is shaped by a server-side codec and processing path you do not control, so the same file can look slightly different on two services.
The Audio Waveform Generator takes the opposite path. Decoding, peak extraction, SVG generation, preview, and download all happen in the current browser tab using the Web Audio API's AudioBuffer interface. Nothing is uploaded, and the download is editable text-based SVG rather than a flattened raster. If you want a deeper explanation of why that matters, the server-upload privacy guide walks through the same local-decoding contract used by the site's audio tools.
Confirm the File and Format Fit Before You Start
The local-decoding path has hard limits because audio can expand dramatically once it is decoded into floating-point channel arrays. A 50 MiB MP3 can decode into a much larger in-memory buffer if it is long and high-channel. The Audio Waveform Generator rejects the whole file as over-limit rather than silently truncating it, so confirming the file fits up front saves a wasted step:
| Constraint | Accepted range |
|---|---|
| Compressed file size | Up to 50 MiB |
| Decoded duration | Up to 5 minutes |
| Channel count | 1 to 8 channels |
| Sample rate | 8,000 Hz to 192,000 Hz |
| Decoded channel samples | Up to 30,000,000 total |
Browsers and operating systems also differ in which compressed codecs they actually decode. The accepted labels are MP3, WAV, M4A, AAC, Ogg, WebM, and FLAC, but a file extension or MIME label is a hint, not a guarantee. The tool asks the browser to decode through Web Audio, and unsupported, corrupt, empty, or disguised files return an error rather than a partial image. If you need a longer clip, a higher channel count, or a codec your browser does not support, trim or convert it first in an audio editor before generating.
Generate a Time-Domain Peak Envelope
Once the file fits, the actual generation takes a few clicks. Follow these steps to produce a deterministic SVG peak envelope locally:
- Open the Audio Waveform Generator in your browser tab and choose one browser-decodable audio file (MP3, WAV, M4A, AAC, Ogg, WebM, or FLAC) that fits the limits listed above.
- Set the SVG width between 320 and 1,600 pixels, the height between 120 and 600 pixels, the background color, and the waveform color using six-digit hexadecimal values.
- Click generate. The decoded frames are divided into equal index ranges; the tool finds the minimum and maximum finite sample across every decoded channel inside each range, clamps defensive out-of-range values to -1 through 1, and draws one vertical SVG line from each bucket's maximum down to its minimum.
- Read the reported frames count and peak-column count so you know how many independent measurements actually fit inside your chosen width.
- Inspect the preview or open the SVG text inspector to confirm dimensions, colors, and line count visually match your intent.
- Download the SVG. The download uses the identical text shown in the inspector, so what you see is exactly what you save.
Verify the Result and Inspect the SVG Text
Verification is the step most people skip, and it is where the local-SVG approach pays off. The reported column count is the smaller of your requested width, 1,000, and the decoded frame count, so a short clip never invents more independent measurements than it contains, and a long clip stays inside a bounded SVG and processing budget. Bucket boundaries use integer frame indices: the first bucket starts at frame zero, the last bucket reaches the final decoded frame, and no accepted frames are dropped between adjacent ranges. Full-scale positive or negative samples extend to 45 percent of the requested height above or below the vertical center, leaving a five-percent margin at the top and bottom so peaks do not touch the edges. For a 400-pixel-tall image, that means a full-scale sample can travel 180 pixels up and 180 pixels down from center, calculated as 400 multiplied by 0.45. For multichannel audio the image is a combined peak overview: one bucket can take its minimum from one channel and its maximum from another, and there are no separate left and right lanes. If you need channel-specific lanes or averaging, use an audio editor that exposes each channel as its own track instead. Open the SVG inspector, copy the markup, paste it into a text editor, and confirm the viewBox, the background rectangle, and the line group match the dimensions and colors you set before you commit the image to your project.
Related reading: Compare Audio Waveform Generation Methods Before You Start.