Adding reverb to an audio file means layering delayed copies of the sound on top of the original so the recording feels larger, deeper, or placed inside a reflective space, and you can do this directly in your browser with Audio Effects Online without installing a digital audio workstation, signing into an account, or uploading your file to a remote server. The lightweight reverb on this page is a deterministic three-tap reflection design with disclosed positions and weights, so the result is predictable, reproducible, and bounded by an explicit output budget instead of an opaque AI pipeline. Every operation — file reading, decoding with the browser's Web Audio engine, per-frame sample processing, WAV encoding, and download creation — runs in the current browser tab. Audio never leaves your device, so private recordings stay local and the same effect produces the same output when applied to the same input a second time.
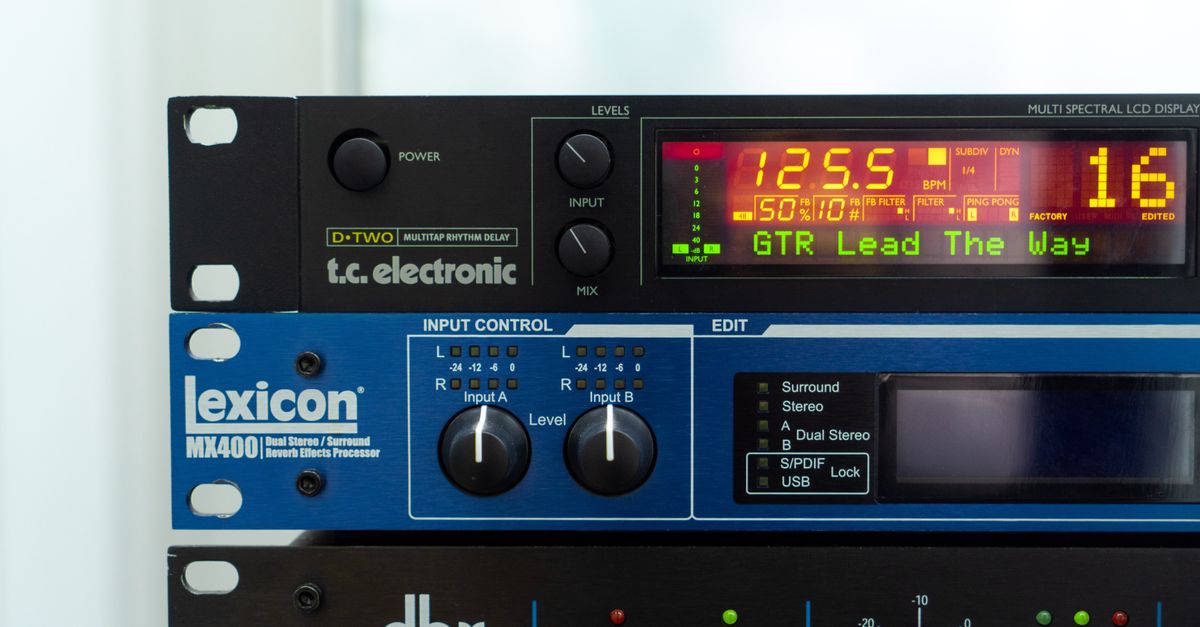
What Reverb Does to an Audio Signal
Real reverberation is the dense pattern of reflections that reaches your ears after a sound bounces off walls, ceilings, floors, and objects in a room. The human ear uses that pattern to judge how far away a source sits, how big the space is, and how absorbent the surfaces are. When audio engineers add reverb to a dry recording — a voice, a guitar, a snare drum, a podcast intro — they are usually trying to glue the source into a believable environment, push it back in a mix, or add a sense of size that the original microphone position did not capture.
Reverb is not the same as echo. Echo is a single discrete repeat that the listener can pick out as a separate event, usually spaced far enough in time to read as a slap or a canyon call. Reverb is a dense, often continuous wash of small reflections that merge into a single tail. Most professional reverbs model this with convolution against an impulse response or with feedback delay networks that simulate thousands of reflections per second.
Why a Browser Tool Handles Quick Reverb Jobs
For a quick sound-design draft, a podcast bed, a music preview, or a school project, opening a full digital audio workstation can feel heavier than the task needs. A local browser tool handles the common case: pick a file, choose an effect, set one amount slider, and download the result, with no plugin management, no project save format, and no rendering queue.
The privacy story matters too. Because Audio Effects Online decodes with the browser's Web Audio implementation, runs every sample through a deterministic JavaScript pipeline, and encodes a new PCM16 WAV entirely on the client, the source audio never leaves the device. There is no server render, no AI model calling home, and no account storage tied to your file. That makes the tool practical for vocals, voice memos, or unreleased demos that you do not want to leave your laptop.
The portability story is also simple. The downloaded WAV opens in any DAW, any video editor, any phone audio app, and any music player that reads RIFF/WAVE PCM16, so the result slots into the rest of your workflow without codec compatibility gymnastics.
How to Add Reverb to Audio
- Open Audio Effects Online in a current desktop browser and prepare one audio file that the browser can decode — MP3, WAV, M4A, AAC, Ogg, WebM, or FLAC filenames are accepted, but a recognized extension does not guarantee that a particular encoded file will decode on your specific browser and operating system.
- Choose that file through the file picker and confirm it is no larger than 50 MiB. The decoder also enforces a hard ceiling of 30 million channel samples on the decoded input.
- From the effect list, select lightweight reverb. The other choices on the same page are a 200-millisecond echo, reverse, fade in, fade out, and peak normalization — only one effect is applied per run.
- Enter a whole-number amount between 0 and 100. At 0 the reverb is silent and you get the dry original back; at 100 each of the three reflection taps uses its full disclosed weight.
- Run the effect locally. The page reports channel count, sample rate, input frame count, output frame count, output peak, and the exact byte size of the resulting WAV so you can verify the math before downloading.
- Download the new PCM16 RIFF/WAVE file and keep the untouched original on disk in case you want to re-process from a clean source.
If the output frame count exceeds the 30 million channel-sample budget — possible because the reverb tail adds frames beyond the input length — no file is created and nothing is truncated. Choosing a smaller amount, a shorter source, or a lower channel count is the fix.
Inside the Lightweight Reverb: Three Taps, Not a Cathedral
The reverb on this page is deliberately simple so its behavior can be inspected frame by frame. It is not a room simulator, a convolution engine, or a modeled plate, spring, or studio hardware unit. The design is three delayed copies of the input, added on top of the original at fixed times with fixed weights:
| Tap | Delay (ms) | Weight at 100% amount |
|---|---|---|
| 1 | 29.7 | 0.50 |
| 2 | 37.1 | 0.35 |
| 3 | 41.1 | 0.25 |
Lower amounts scale those weights linearly, so at 50% each tap contributes half of its disclosed weight. Because the three delays cluster in a tight 11.4-millisecond window, the result reads as a small early-reflection cluster rather than a long wash — a useful draft for thickening a dry voice or pushing a snare back in a mix, not a substitute for a real convolution reverb.
You can sanity-check the math by considering a single input sample with value 1.0 at 100% amount. The three taps add 0.50 + 0.35 + 0.25 = 1.10 of extra energy, so the summed peak reaches 1.0 + 1.10 = 2.10. Legal floating audio samples must sit between -1.0 and +1.0, so the encoder clips the result back to 1.0 before quantizing to signed 16-bit PCM. This is exactly why strong reverb settings can lose some dynamic headroom even when the source is well below 0 dBFS.
The complete reverb tail is allocated before processing starts, so the last reflection is never cut off by an output buffer that ran out of room. The tool does not model room dimensions, frequency-dependent decay, stereo diffusion, damping, pre-delay, or any professional reverberation tail — and that is by design, so the contract stays narrow and verifiable.
Reading the Output Numbers After Processing
After the effect runs, the page surfaces a small set of metrics drawn directly from the Web Audio decoded buffer and from the encoder's byte writer. Channel count and sample rate come from the decoded AudioBuffer as defined by the W3C Web Audio API; input and output frame counts come from sample-by-sample accounting; output peak comes from a scan of the processed buffer; and byte size comes from the assembled RIFF/WAVE container. At 16 bits, the PCM block alignment is two bytes per mono frame and four bytes per stereo frame, which matches the Microsoft WAVEFORMATEX block alignment formula for PCM.
If the output peak sits at exactly 1.0 — the largest value that signed 16-bit PCM can represent — the dry signal plus reverb tail clipped, which is useful information when deciding whether to lower the amount, run normalization afterward, or try a different source. The byte size tells you immediately whether the file is long enough to be worth downloading, since a stub RIFF/WAVE with no PCM data means processing failed.
Combining Reverb with Other Adjustments
Because the tool applies only one effect per run, layering reverb with EQ, joining it with another clip, or trimming it to a region happens by downloading the reverberated result and feeding it back in. A typical chain might be: reverb for space, then the three-band EQ to tame any low-end buildup the reflections added, then Audio Cutter to trim the head and tail to a precise region, then Audio Joiner if the reverberated clip needs to sit between two other segments. Each step is a fresh decode-and-encode cycle, which means repeated lossy decode can reveal source artifacts and repeated normalization can change dynamics — another reason to keep an untouched original.
If the goal is louder overall after the reverb is in place, peak normalization is a single pass that scans for the largest absolute decoded sample and scales the buffer toward a 0.95 peak. It is a sample-peak operation, not loudness matching: it does not measure LUFS, perceived volume, broadcast compliance, dynamics, or inter-sample true peak, and silent input stays silent.
For a deeper look, see Add Reverb and Echo to Audio Online: Six Local Effects.
For a deeper look, see Add Reverb to an MP3 File Online Locally.