Most online reverb advice collapses into one fact: a lightweight browser reverb adds three early-reflection copies of the input at 29.7, 37.1, and 41.1 milliseconds with weights of 0.50, 0.35, and 0.25 multiplied by the amount slider, and most mistakes come from expecting more from that design than it actually delivers. The reverb in a local tool like Audio Effects Online is a disclosed, deterministic, three-tap reflection generator — it does not model room dimensions, frequency-dependent decay, stereo diffusion, damping, pre-delay, or convolution with a measured impulse response. After processing, the page surfaces the channel count, sample rate, input and output frame counts, output peak, and exact WAV byte size, which means the trade-offs are visible instead of hidden. Common mistakes — pushing amount to 100%, ignoring clipping, treating reverb as a loudness tool, and forgetting the 30 million channel-sample output budget — all stem from missing one of those numbers. Keep your untouched original file, treat the download as a new PCM16 WAV that drops source tags and artwork, and remember the result is a sound-design draft, not a studio finish.
How Lightweight Browser Reverb Differs from Studio Processing
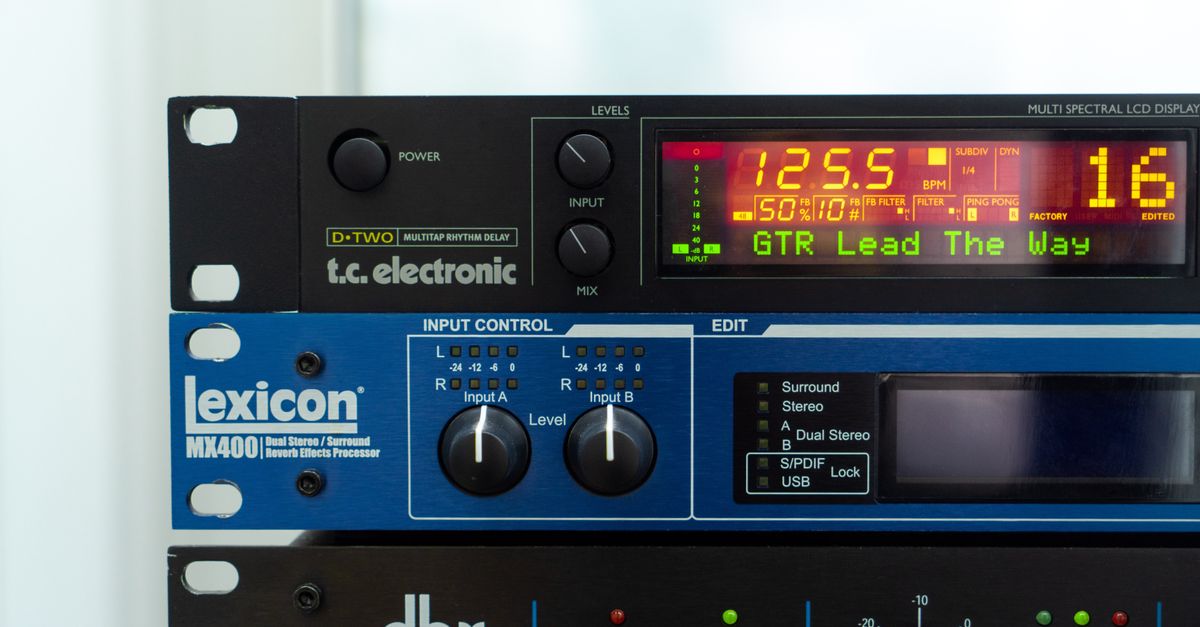
A studio convolution reverb loads an impulse response measured from a real room, plate, or spring and convolves that response with the dry signal to model frequency-dependent decay, stereo diffusion, damping, pre-delay, and a long natural tail. The reverb in a local browser tool like Audio Effects Online does none of that. It is a documented three-tap reflection design: copies of the input are added at 29.7, 37.1, and 41.1 milliseconds, weighted by 0.50, 0.35, and 0.25 multiplied by the amount slider. The product contract is explicit that those coefficients are deliberate design choices rather than measurements of any specific acoustic space, room, plate, spring, studio, or branded processor.
Knowing this distinction up front prevents the single most common error: setting the amount to 100% and expecting a hall or cathedral sound. The output is useful for drafts, voice memos, podcast pickups, and "give it a bit of space" passes. It cannot sound like a Lexicon plate, a Capitol studio chamber, or a convolution with a real IR. Treat it as a sketch tool, not a finishing processor, and decisions about amount, layering, and post-processing all become more honest.
Tips That Produce Cleaner Reverb Results
Begin with the amount lower than your instinct suggests. Because three weighted copies stack on top of the dry signal, even a 30% setting usually reads as more reverb than expected on a clean voice or a solo instrument. Start around 15–25%, render, listen, then nudge upward in 5-point increments if the result still sounds bone-dry.
Inspect the output peak the page reports after processing. The tool constrains finite samples to the −1 through +1 floating range before PCM quantization, so a hit at the edge of that range means the delayed tail clipped. If the output peak reads 1.000 against a dry source peak of, say, 0.65, you know the reverb pushed past unity. Drop the amount and re-render.
Always keep an untouched copy of the source file. The download is a freshly encoded little-endian PCM16 RIFF/WAVE that drops the original codec, bitrate, tags, artwork, chapters, cue points, and loop markers. If you want to compare versions, undo a mistake, or round-trip the audio through another pass, you need the unmodified original.
Use the downloaded WAV as the next input when you need more than one effect per pass. The tool applies a single transformation per run, and re-feeding the freshly rendered WAV keeps each stage clean. Avoid re-uploading the source MP3 or M4A over and over; lossy decode followed by PCM processing can reveal codec artifacts that were not audible in the original.
When you want to compare reverb to the other effects the same page offers — echo, reverse, fade in, fade out, normalization — the short walkthrough of the six local effects one tool applies gives you a side-by-side view of when each one is the right choice.
Common Mistakes When Adding Reverb Online
Several mistakes appear in nearly every online reverb workflow. Each stems from reading a disclosure off the page, and each has a clean fix that keeps the file inside the supported sample budget.
Running the amount to 100% on a hot signal. A 200 ms half-strength echo at 100% blended with a dry peak near unity can multiply the sample value by 1.5, and reverb at 100% adds three weighted copies that also stack. Floating-point samples are then clipped to ±1, which audibly behaves like a sudden limiter rather than smooth ambience. The math at a chosen amount tells the story. At 50% reverb amount, each weight is halved: 0.50 × 0.50 = 0.25, 0.35 × 0.50 = 0.175, 0.25 × 0.50 = 0.125. Add the three weighted reflections to a unity dry peak of 1.0: 1.0 + 0.25 + 0.175 + 0.125 = 1.55. That exceeds ±1, so the floating samples are clipped to 1.0 before PCM encoding.
Expecting reverb to set loudness. Reverb changes perceived space, not perceived volume. Normalization scales the file toward a 0.95 sample peak; reverb only adds reflections. They are separate dials for separate goals, and the tool makes no LUFS, true-peak, perceived-loudness, or equal-loudness claim about its reverb effect.
Applying reverb after a fade out. A fade out reduces the dry signal toward zero, then reverb tries to add reflections on top. The reflections fade with the dry signal, which is rarely what you wanted. Reverb first, fade second — or render the fade in a separate pass after the reverb stage.
Forgetting the 30 million channel-sample output budget. Echo and reverb allocate their full tail before processing, and that tail counts against the output budget. A long file with reverb at 100% can pass the input budget yet still fail the output budget. When that happens, nothing is truncated and no file is created. Trim the source with an audio cutter or render a shorter segment.
Treating the result as identical to the source. PCM16 quantization, the new RIFF/WAVE container, and the loss of all original metadata are real, permanent changes. If you need to round-trip later, you will round-trip the WAV output, not the source file.
| Mistake | What actually happens | Safer choice |
|---|---|---|
| Amount at 100% on a hot input | Weighted reflections + dry exceed ±1 and clip | Start at 15–25%, watch the output peak |
| Skipping the displayed output peak | Clipped tails sound like a sudden limiter | Read the peak and re-render under 1.0 |
| Treating reverb as loudness matching | Reverb adds reflections, not perceived volume | Pick normalization to scale toward 0.95 peak |
| Re-uploading the source MP3 over and over | Lossy decode plus PCM processing reveals codec artifacts | Use the freshly downloaded WAV as the next input |
| Rendering reverb after fade out | Reflections fade with the dry signal | Reverb first, fade second across passes |
Apply Reverb to Audio Online Step by Step
For users who want the fastest path from a source file to a processed download, here is the exact sequence using Audio Effects Online.
- Choose one browser-decodable audio file no larger than 50 MiB. Filenames such as MP3, WAV, M4A, AAC, Ogg, WebM, and FLAC are accepted, but actual decode support depends on the browser and operating system. If the page reports a decode failure on a recognized filename, the encoded file is not supported by the local Web Audio pipeline.
- Pick "Reverb" as the effect.
- Set the amount to a whole number from 0% through 100%. Start lower than you think — 15–30% works well for solo voices and instruments.
- Click Apply. The tool decodes with the browser's Web Audio implementation, adds the three reverb reflections at the documented timings and weights, allocates the complete tail, and clips finite samples to ±1 before encoding.
- Inspect the displayed channel count, sample rate, input and output frame counts, output peak, and exact WAV byte size. If the output peak sits at 1.000, lower the amount and re-render. Download the PCM16 WAV and keep the untouched source for re-runs or to build a longer chain.
Budgets, Limits, and What the Tool Will Not Do
Local browser audio has hard ceilings. The Web Audio API pipeline that decodes your file accepts one to eight equal-length channels at 8,000–192,000 Hz and caps decoded data at 30 million channel samples. The output (input plus effect tail) shares the same ceiling. Echo and reverb push the output budget because their tails add frames, even when the input alone fits comfortably.
PCM encoding here follows the Microsoft WAVEFORMATEX structure, where block alignment equals channels × bits per sample ÷ 8 bytes per frame. At 16-bit that produces two bytes per mono frame and four bytes per stereo frame — standard RIFF/WAVE behavior, nothing proprietary. The decoded AudioBuffer contract and sample-frame length used here are the ones the Web Audio specification defines.
| Effect | What it does | Amount unit | Pick this when |
|---|---|---|---|
| Echo | Half-strength copy of each input sample, 200 ms later | 0–100% blend | You want one clear, audible repeat |
| Reverb | Copies added at 29.7, 37.1, 41.1 ms, weighted 0.50, 0.35, 0.25 × amount | 0–100% blend | You want a quick space draft |
| Reverse | Reads sample frames in opposite order, blended with dry | 0–100% blend | You are building a transition or riser |
| Fade in | Dry proportion at the start, full level at the end | 0–100% blend | You want a soft entrance |
| Fade out | Full level at the start, dry at the end | 0–100% blend | You want a soft exit |
| Normalization | Scales largest absolute sample toward 0.95 peak | Single fixed target | You want consistent peaks across files |
When Reverb Is Not the Right Effect
Reach for echo when you want a single, audible repeat — slap-back vocals, a doubled snare, or a call-and-answer line. The 200 ms half-strength echo is unambiguous and behaves the same way on every render.
Use fade in or fade out when the goal is really "make this introduce itself" or "make this end gracefully," not when the goal is space. Fade in scales from the dry proportion at the start to full level at the end; fade out does the inverse.
Use normalization when the actual problem is too-quiet peaks. Normalization finds the largest absolute decoded sample and scales toward a 0.95 peak. It does not measure perceived loudness, LUFS, true peak, or equal-loudness across files — it strictly targets the sample peak.
Pick reverse for transitional sound design — risers, pre-drop stings, creative reverses — not for adding depth to a steady pad.
The same Audio Effects Online page handles each of those six effects in a separate pass. Picking the right one becomes a habit rather than a guess once the disclosed amounts, tails, and budget ceilings above are second nature.
If you're weighing options, Audio Pitch Changer: Practical Tips and Common Mistakes covers this in detail.