
Google Earth 中的影像覆蓋層是一張平面圖片——例如自訂地圖、空拍照片或測量圖表——會釘選在 3D 地球儀上特定的經緯度座標位置,並可旋轉以符合現實世界的方位角、拉伸以涵蓋以弧度為單位的面積,還能在 0% 到 100% 的透明度之間調整,以顯示下方的衛星影像。「影像覆蓋層」這個詞也用來描述在瀏覽器中將一張圖片疊在另一張圖片上的較簡單動作:在底層圖片上以指定的位置、縮放和透明度放置第二張圖片,然後匯出成單一的 PNG。這兩者使用相同的詞彙,但解決的是不同的問題——Google Earth 的覆蓋層與地理相關,且綁定在地球儀的曲面上,而瀏覽器中的覆蓋層則純粹以像素為基礎,非常適合在影像送達 Google Earth 之前,先準備浮水印、徽章、邊框或參考圖形。本指南涵蓋兩種做法:Google Earth 原生的影像覆蓋層工作流程,以及一個完全不需上傳任何來源檔案的瀏覽器私有方法。
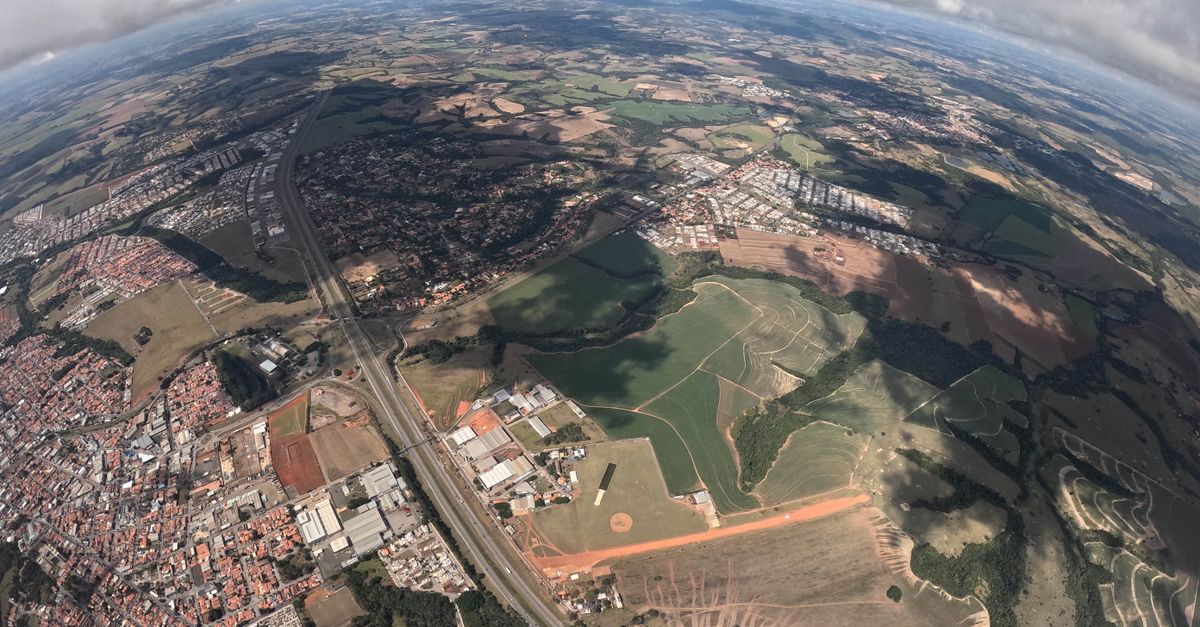
Image Overlay in Google Earth at a Glance
Google Earth treats an image overlay as a flat rectangular layer rather than a 3D model. The overlay is anchored to a point on the globe, can be rotated to align with a coastline or boundary, and can be stretched to cover any chosen footprint. Outside Google Earth, a browser overlay has the same ingredients—a base image, an overlay image, a position, a scale, and an opacity—but everything is measured in pixels rather than degrees of arc. A Google Earth overlay is geographic, so the same graphic can sit at the correct location for anyone who opens the project. A browser overlay is purely visual, which makes it the right place to bake in a watermark, a logo, or a frame before the image is uploaded to Google Earth or used anywhere else.
Adding an Image Overlay in Google Earth
Google's own desktop tutorial describes the image overlay feature as a way to place a flat image on the globe and adjust its position, scale, and rotation until it lines up with the real world. The steps below walk through the desktop interface and the parallel workflow in the web version of Google Earth, where the same controls live inside the project toolbar.
- Open Google Earth on your computer, or visit earth.google.com in a modern browser, and load or create a project.
- Navigate to the area where the overlay should appear. Use the search box or pan and zoom until the location is centered on screen.
- Open the Add menu. On Google Earth Desktop this lives in the top toolbar and is labelled Image Overlay; on the web app it appears in the project toolbar with the same label.
- Choose the image file from your computer. PNG and JPG are both common choices; the file is loaded as a flat rectangular layer rather than a 3D model.
- Drag the overlay by its center handle to fine-tune latitude and longitude. Drag the green corner handles to resize the footprint, and use the rotation handle to align with a coastline, boundary, or compass bearing.
- Adjust transparency with the opacity slider until the overlay and the satellite imagery beneath it are both legible. Historic maps often read best somewhere between 50% and 70%.
- Save the project so the overlay stays attached to the place you chose. The overlay then appears for anyone opening the same project file in Google Earth.
For overlays that need a clean watermark, badge, or label baked into the corner of the image before it reaches Google Earth, the next sections show how to build that PNG locally in the browser without uploading either source file.
Preparing an Overlay Image in Your Browser
Many image overlays start as a base picture plus a small graphic—a company logo tucked into a corner, a frame outline around a survey map, a north-arrow badge, or a watermark text plate. Combining those two pieces in the browser, rather than in a full image editor, gives you a predictable PNG with the overlay already in the right spot and at the right transparency. Once the PNG is ready, it drops straight into the Google Earth image overlay step above.
The Image Overlay tool runs entirely in the current browser tab. Both inputs are decoded locally, combined on a canvas, and exported as PNG. No server receives either file, no account is required, and the temporary object URLs the browser creates are revoked as soon as a file is replaced or the tool is closed.
How to Use the Image Overlay Tool
- Open the Image Overlay page in your browser.
- Click the base slot and pick the image that defines the output canvas. JPG, PNG, and WebP are all accepted, up to 25 MiB per file.
- Click the overlay slot and pick the second image you want to place on top. The same format and size limits apply.
- Choose a position: top-left, top-right, bottom-left, bottom-right, or center. Each option uses a deterministic formula based on the base width, base height, and the scaled overlay dimensions.
- Set the overlay scale. The default of 100% draws the overlay at its own natural width and height. Values from 10% to 200% are supported, and both dimensions scale together so the overlay's aspect ratio is preserved.
- Set the opacity. Zero makes the overlay invisible while still producing a base-size PNG. One hundred keeps the overlay's own alpha unchanged. Anything in between multiplies the overlay's contribution by that fraction.
- Click the create button to generate the composition. A preview appears that matches the pixel dimensions of the base image even when it is shown smaller on the page.
- Inspect the preview. If something is off, change the position, scale, or opacity and run it again; the previous result is cleared automatically.
- Download the PNG. The downloaded file's width and height always equal the base image's natural dimensions.
How Position, Scale, and Opacity Work
Three controls shape every composition. Position determines where the overlay is anchored on the base canvas, scale sets the size of the overlay relative to its own natural pixels, and opacity controls how much of the overlay shows through. The coordinates below are computed from the base width and height together with the scaled overlay width and height, so each choice is reproducible rather than approximated.
| Position | Top-left x | Top-left y | Notes |
|---|---|---|---|
| Top left | 0 | 0 | Overlay begins at the base's origin |
| Top right | base width − scaled overlay width | 0 | Right edge meets the base's right edge |
| Bottom left | 0 | base height − scaled overlay height | Bottom edge meets the base's bottom edge |
| Bottom right | base width − scaled overlay width | base height − scaled overlay height | Both edges meet the base's far corners |
| Center | (base width − scaled overlay width) / 2 | (base height − scaled overlay height) / 2 | Half-pixel offsets keep math centered when sizes differ by an odd number of pixels |
Scale is applied to the overlay only. A 1000×600 overlay at 50% renders at 500×300. At 200% it renders at 2000×1200, which can extend beyond the base canvas; any pixels outside the base are clipped rather than resizing the base. Opacity multiplies the overlay's alpha by the selected percentage, so 50% on an opaque white overlay produces a 50% gray patch, while 50% on a translucent PNG keeps the existing transparency and softens it further.
File Limits, Formats, and Privacy
The tool accepts a deliberately narrow set of inputs to keep decoding reliable in the browser. Each rule applies independently to the base and the overlay, and a file that fails any rule is rejected with no partial output.
| Limit | Value | Why it matters |
|---|---|---|
| Supported formats | JPEG, PNG, WebP | GIF, SVG, and AVIF are out of scope |
| File size | Up to 25 MiB per file (26,214,400 bytes) | Oversized files are rejected before decoding |
| Decoded pixels | Up to 40,000,000 per image | Protects browser canvas memory after compression is unpacked |
| Edge length | Up to 20,000 px on either side | Prevents accidental billion-pixel canvases |
| Boundary values | Accepted at the limit; one byte or pixel over is rejected | No partial output on invalid input |
| Upload behavior | Files are decoded locally; ObjectURLs are revoked on replace or unmount | Neither source nor result is sent to a server |
Because nothing leaves the browser, you can prepare an image that you intend to upload to Google Earth—say, a watermark for a historic map overlay—without ever sending the working draft to a third-party service. For additional positioning scenarios using the same browser approach, the guide on overlaying a picture on a picture in your browser walks through further examples.
When to Use Each Approach
Use Google Earth's native image overlay when the picture is geographic in nature—a historical survey, a city plan, a scientific chart, or an aerial photo that should align with real coordinates and sit on the curved surface of the globe. Use the browser Image Overlay tool when the goal is purely graphical: stamping a logo into a corner of a map, baking a watermark into a reference graphic, framing a chart with a decorative border, or combining a texture with a base image before the final file is uploaded anywhere.
The two workflows combine well. A common pattern is to start in the browser, drop a clean watermark or north-arrow badge onto a map export, download the PNG, and then add the finished PNG as a Google Earth image overlay so the result is geographically anchored on the globe. Because the browser output keeps the base image's exact pixel dimensions, the file behaves predictably when Google Earth interprets it as a flat rectangular layer.
For technical background on how the renderer combines the two images, the MDN reference for CanvasRenderingContext2D drawImage documents the same draw call used to place the scaled overlay at the planned coordinates, and the entry on globalAlpha covers the opacity mechanism the tool relies on for non-100% transparency values.